What Contrast paint does that a wash does not
Citadel Contrast paint is a translucent one-coat paint. Over a light undercoat it settles into recesses and stays thin on raised surfaces, so a single pass delivers both colour and shading. A regular acrylic wash works in the opposite direction: you finish an opaque basecoat first, then flow a wash into the recesses to deepen what is already there. That difference decides every step below.
Warhammer Community's guide to Contrast painting makes the undercoat rule explicit: Contrast always works best over lighter basecoats, because the paint pulls away from the edges and lets whatever colour is underneath show through more than a traditional acrylic would (Warhammer Community). If you have spent years painting basecoat-then-wash, the adjustment is as much mental as physical, because you are painting colour and shadow in the same pass.
This walkthrough assumes a primed plastic or resin miniature and a standard brush-on workflow. If you are comparing products, read the site's Contrast paint versus wash guide. Metallic undercoats and using Contrast on a wet palette are separate questions.
Step 1: Start with a light, even undercoat
The undercoat does more work in this technique than in almost any other. Warhammer Community's Contrast article names Grey Seer, Wraithbone, White Scar and even Zandri Dust as undercoats the paint responds to well, and the reason is mechanical: the paint pulls away from raised edges, so it needs a pale surface to show through.
Spray or brush the undercoat on evenly and let it dry fully before you open a Contrast pot. A patchy or dark undercoat changes the final result, because the paint is affected by the colour beneath it. If half the model is bare plastic and half is spray, the finished miniature will look half-painted even before the first Contrast pass.
If you usually prime black because it hides missed spots, this is the project to try a pale grey or bone undercoat instead. Keep the coat thin; a heavy, textured primer layer will show through the translucent paint.
Step 2: Shake the pot and load the brush properly
Shake the pot until the pigment is properly mixed, then load a brush that is full but not dripping. That loading description comes from Saga Concepts' beginner guide to Contrast paints (Saga Concepts), and it is the difference between paint that flows across an area and paint that dribbles in one spot.
A medium round brush is often easier for larger areas than a fine detail brush: it holds more paint, reducing repeated passes and streaks. If you need to dilute the colour while preserving the intended flow, try Contrast Medium following the manufacturer's guidance; test any other dilution on a spare surface first.
Step 3: Apply one smooth pass, one area at a time
Work on a single area, such as one shoulder pad, one cloak or one armour panel, and cover it in one smooth pass. Start at the top of the area and brush downward so gravity helps the paint flow where you want it instead of fighting it.
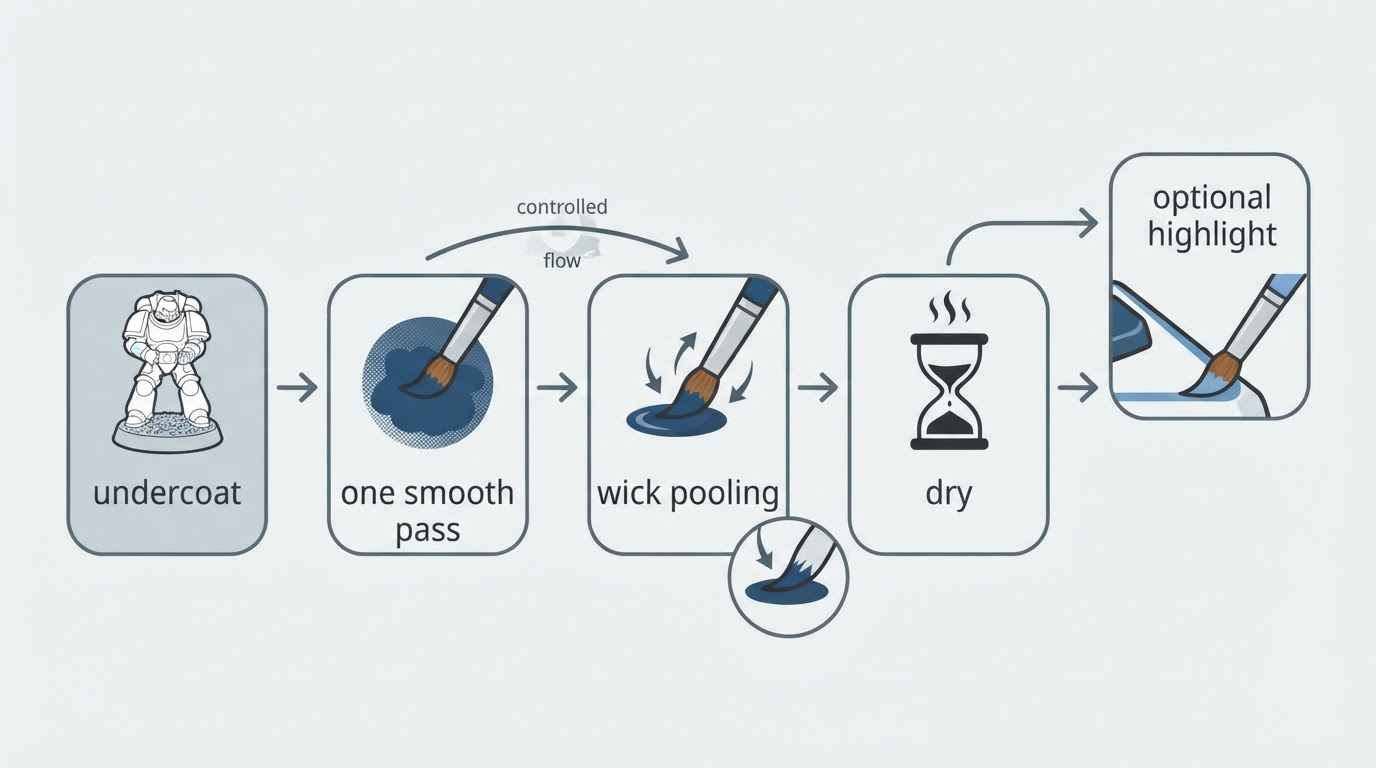
Resist the urge to keep brushing while the surface is still wet. Going back over paint that has started to set drags pigment around and leaves streaks and tide marks, which is the most common reason a first Contrast model looks patchy. One confident pass per area is how to apply Contrast paint smoothly; the paint levels itself once you leave it alone.
If an area is large, break it into smaller sections and finish one before starting the next. The finish line for each section is simple: full coverage, no obvious brush tracks, and no standing wet paint on a flat surface.
Step 4: Wick pooling away before it dries
Contrast needs slightly more paint than you think, and then it needs the excess removed before it sets. Touch the tip of a clean, slightly damp brush to the pool and let the brush draw the puddle away from flat surfaces; there is no need to press the bristles into the model.
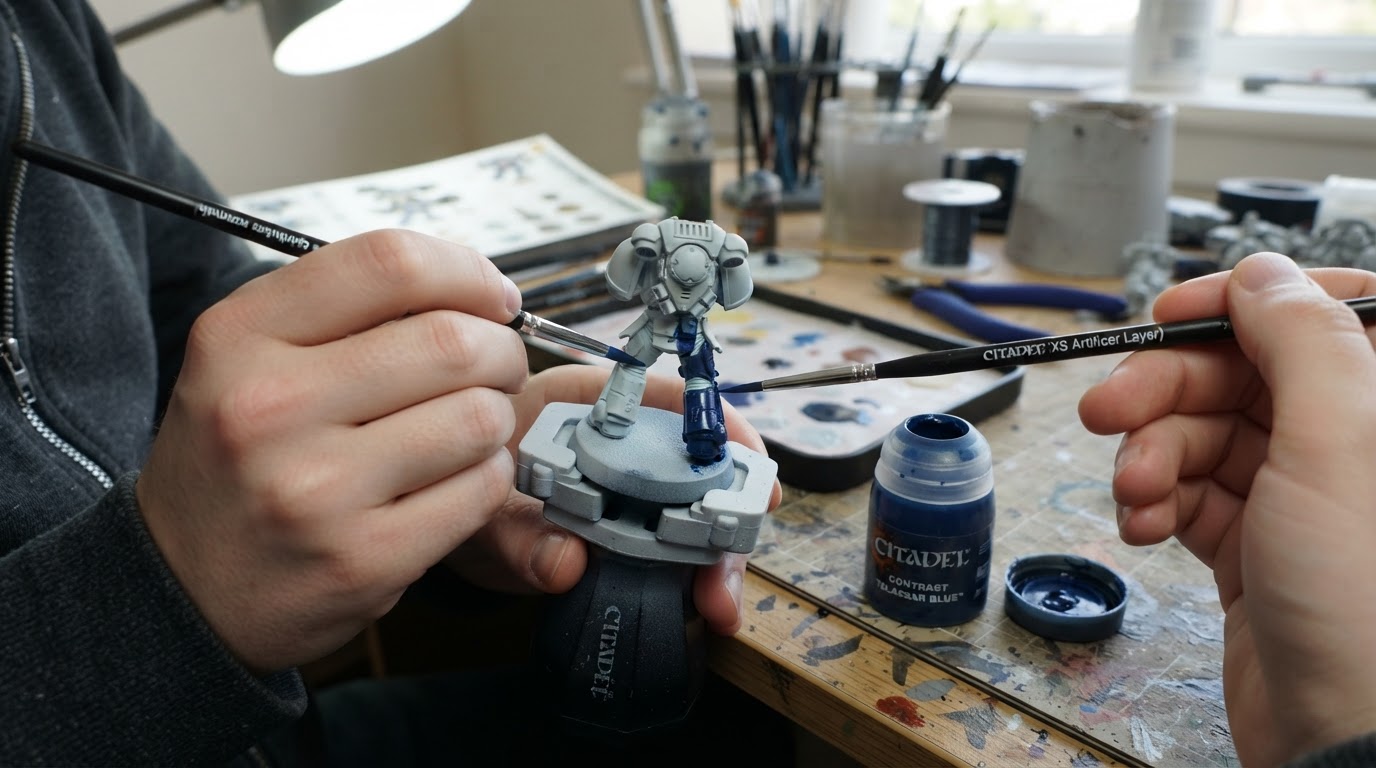
Smaller sections are easier to control, and tilting the model lets excess paint run toward an edge you can reach. If a colour feels thick or sticky, mix a touch of Contrast Medium on the palette instead of pushing the paint around the surface.
Step 5: Let the paint dry, then leave it alone
The paint keeps working while it dries, so the final part of the technique is patience. Contrast becomes much less movable once it starts to set, and if you apply too little then come back to add more before the coat is dry, you damage the layer you just laid down. Step back, give it time, and check the model from a few angles before deciding whether it needs anything else.
Step 6: Tidy mistakes the right way
If the paint is still wet, lift excess with a clean, slightly damp brush. If a mistake has dried, repaint a small area with a matching light basecoat, let that dry, then reapply Contrast carefully. A dark corrective layer will show through translucent Contrast, so match the original undercoat rather than simply covering the mark with any opaque paint.
Step 7: Optional highlight to sharpen the result
Once the Contrast layer is completely dry, you can leave the model tabletop-ready or add one Layer paint along the edges for a sharper finish. The shading is already visible at this point, so you can see exactly where a highlight belongs instead of guessing.
Contrast paint versus a regular wash
Question | Citadel Contrast paint | Regular acrylic wash |
|---|---|---|
What it produces | Colour and recess shading in one pass | Deeper recesses over an existing basecoat |
Surface it needs | A light, even undercoat | A finished basecoat of any colour |
Passes to expect | Usually one, with any second pass after full drying | One thin pass worked into the recesses |
Main failure mode | Pooling into dark blotches, streaks from reworking wet paint | Flooding flat areas if applied too heavily |
Best job | Fast colour across a whole unit or army | Extra depth on a finished model |
A simple completion check
Before you move on to the next colour, the Contrast stage is done when:
- every area received one smooth pass with no wet reworking;
- no flat panel is holding a pool of wet paint;
- recesses read darker than the raised surfaces without a blotchy patch anywhere;
- the surface is fully dry before you touch it or add a highlight.
Common beginner problems and fixes
The paint looks streaky. Reworking paint that had begun to dry is one possible cause; an uneven undercoat or too little paint can also contribute. Let the model dry, inspect the cause, then touch up the light basecoat and reapply carefully if needed.
A flat panel dried much darker than the rest. That was a pool. Next time load less paint, tilt the model while it is wet, and draw the excess away with a clean, damp brush before it sets.
The colour looks dull or muddy compared with the pot. Check the undercoat first. Contrast is shaped by the surface beneath it, so a dark, patchy or glossy undercoat shifts the final colour, and an even pale undercoat is usually the cheapest fix.
The colour is too strong. Mix in a small amount of Contrast Medium rather than water, and apply a thinner single pass.
Keep the first models simple
Start with one or two colours on a single model and let the technique settle before batch-painting a unit. Contrast rewards a light undercoat, a well-loaded brush, one smooth pass per area, and the discipline to stop touching the paint once it is down. Those four habits matter more than any particular colour choice.


