Primer for Miniatures:
Why It Sticks—and
When to Spray or Brush
Primer is the adhesion layer and the color foundation. Choose spray-can speed or brush-on control from your space, batch size, and ventilation—then build thin coats that keep detail sharp.
We are supported by our audience. When you purchase through links on our site, we may earn an affiliate commission, at no extra cost for you.
Spray Can or Brush-On Primer?
Most “what primer should I buy?” threads are really one decision: can you spray safely and evenly where you paint, or do you need bottled control at the desk? Use this checklist before you shop.
| If this is true… | Choose… | Operating Rule |
|---|---|---|
| Priming a batch of 5+ models with outdoor space | Spray-can primer | Faster coverage, even matte film when shaken and misted in thin passes. |
| Small apartment or shared indoor air | Brush-on primer | No aerosol cloud; full control at the desk with thin layers. |
| Hitting deep recesses without filling detail | Brush-on primer | Brush routes put paint where you aim; cans easier to overload. |
| Fastest path from plastic to basecoat for a squad | Spray-can primer | One session can undercoat many models if weather cooperates. |
| Only have a few models and hate propellant waste | Brush-on primer | Bottled primer scales to one miniature without waste. |
“Spray is always better.”
Spray is faster outdoors. Indoors, aerosol solvent and overspray are a safety and ventilation problem. Better adhesion comes from clean models, the right primer for the material and thin coats, not from the can alone.
“Brush-on leaves streaks.”
Streaks mean the primer is too thick. Thin the primer, use a large soft brush, and build 2–3 translucent passes instead of one heavy coat.
“I can skip primer.”
On bare plastic and metal, paint has less to grip, and handled edges can rub through sooner. Primer gives acrylics a more consistent surface, but the product's own instructions still decide how it is applied.
What Primer for Miniature Painting Actually Does
Adhesion
Gives acrylics a toothier surface on slick plastic, resin, and metal so color does not scrape off high points.
Unified Base Color
Removes the mottled mix of bare plastic and support scars so your first basecoat reads true.
Flaw Exposure
A thin, even coat makes mold lines and print layer ridges obvious before you invest hours in painting.
Quick Prep Tip
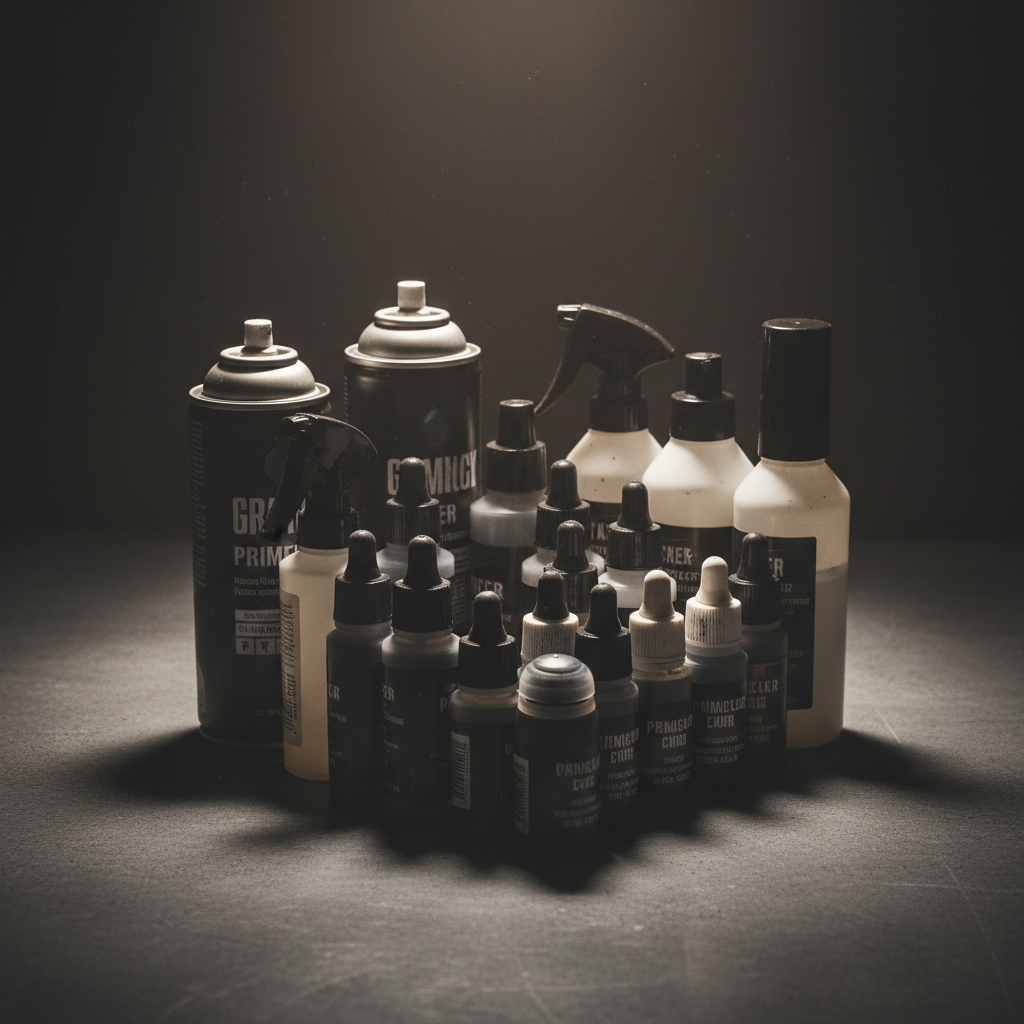
Wash plastic and resin parts in mild soapy water and dry fully to remove skin oils and mold release agents. Metal benefits from degreasing as well; follow the primer label for any extra prep it requires.
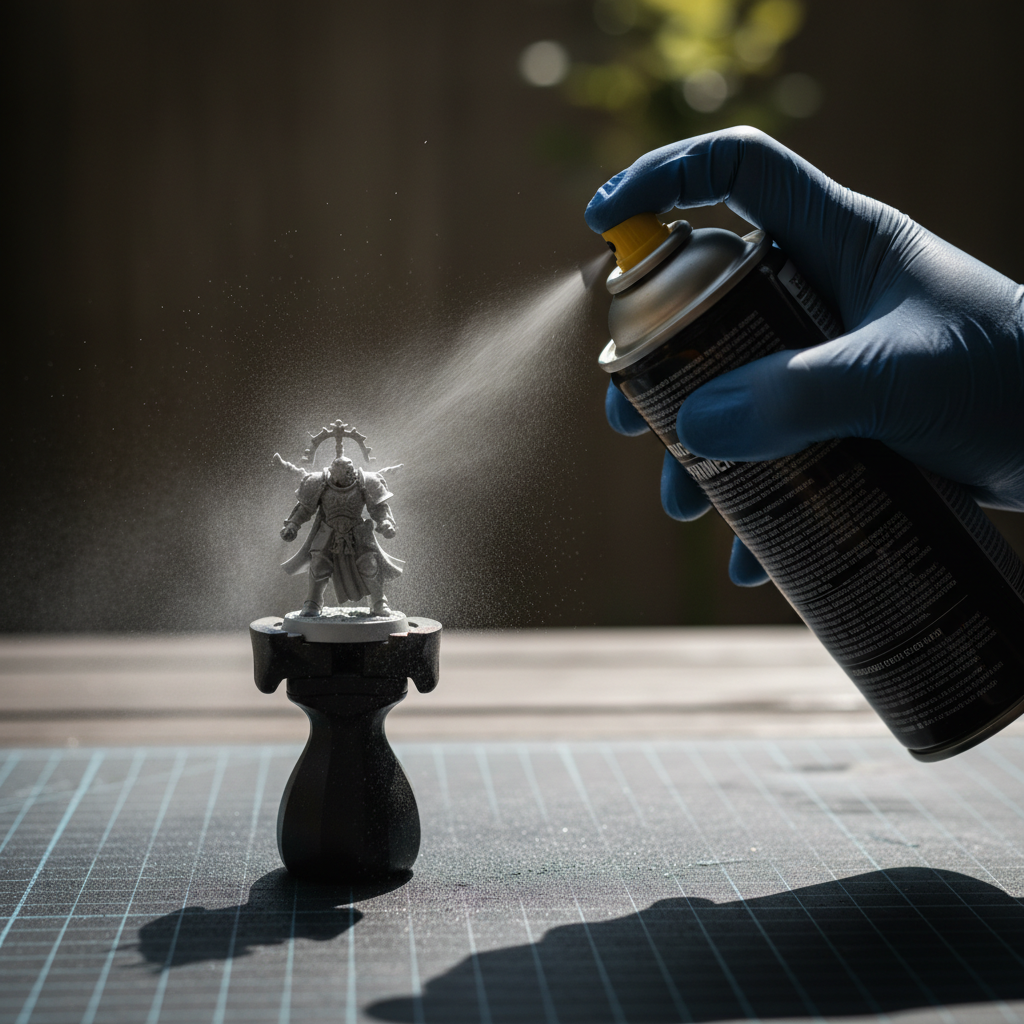
Spray-Can Primer: When It Wins and How to Apply It
Best for batches, outdoor sessions, and even matte undercoats when weather cooperates.
Shake for the time the can label states after the mixing ball rattles freely.
Use the distance the label recommends; 8–12 inches is a common starting range. Too close dumps blobs.
Start spray off the model, sweep across, stop off.
Build coverage in thin passes, letting each pass flash off as the label directs. Don't flood.
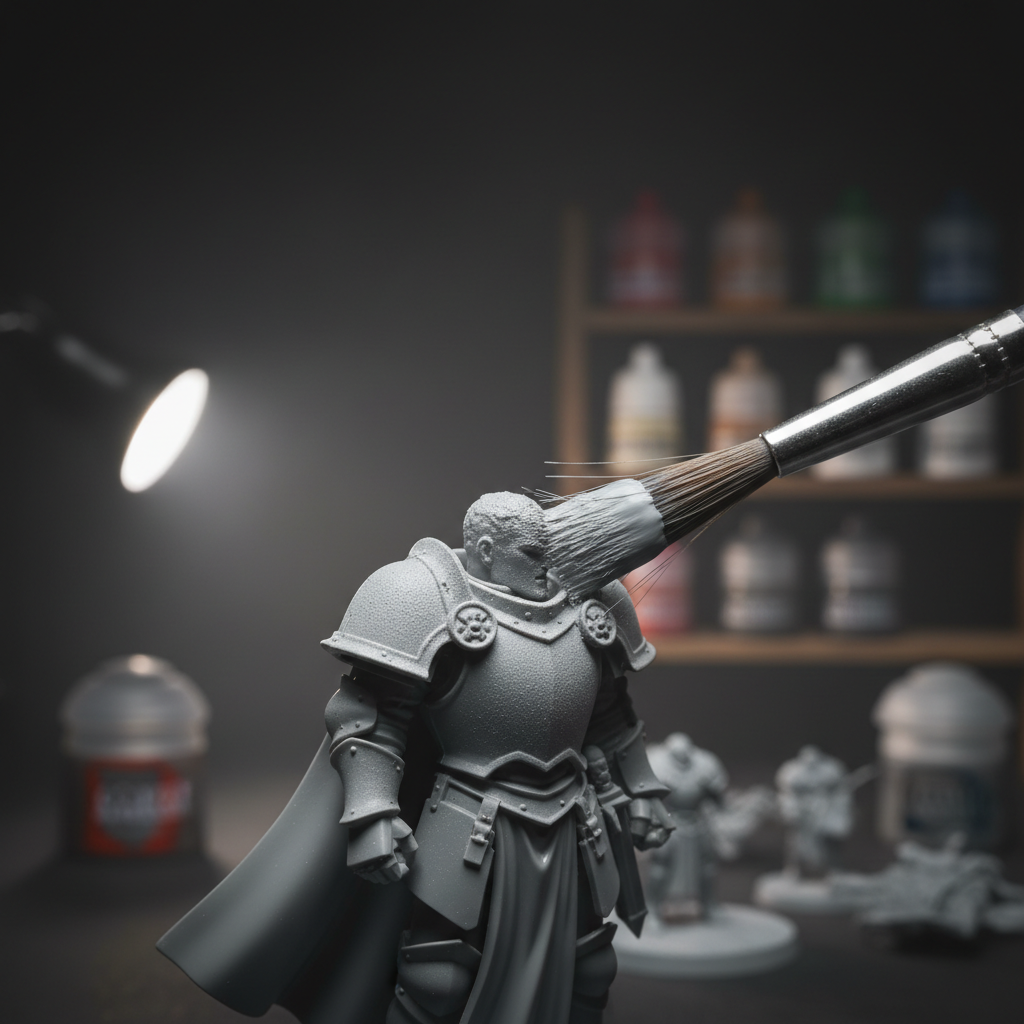
Brush-On Primer: Desk Control Without the Cloud
Best for apartments, single models, and painters who want zero aerosol exposure.
Thin for Flow
Thin only as the product label says: some brush-on primers take water, others a specified thinner. Aim for a consistency that flows off the brush without pooling, not a fixed ratio.
Multiple Thin Passes
Several translucent layers are easier to control than one opaque drag that fills fine detail.
Watch the Detail
If eyelids or rivets soften, you are too thick. Wick excess with a clean damp brush.
When Can You Paint Over Primer?
Follow the recoat and topcoat instructions on the primer you actually bought. "Dry to the touch" is not always the same as "ready for the next coat": some labels give a recoat window, and some solvent-based aerosols ask for a longer wait before acrylics go on top. A full chemical cure is not a universal prerequisite for basecoating — the label for that product is the authority.
If the label gives no recoat time, test on a spare piece: a light thumb rub and a thin coat of your base colour will show whether the primer is still soft or lifting.
Black, White, or Grey Undercoat?
Primer color is a lighting decision, not just a fashion choice. The undercoat shifts how your base colors read.
Grey Primer
The neutral default. Forgiving for beginners and keeps colors true to the bottle.
Best for most armiesBlack Primer
Speeds up dark schemes and provides "free" shadows in recesses. Harder for yellows.
Best for GrimdarkWhite Primer
Makes bright colors pop. Helps yellows, reds, and pastels read cleaner with fewer coats.
Best for High-ChromaPrimer Problems: Grit, Peeling, & Pooling
Many primer problems come from application and conditions rather than the product alone. Match the symptom to the fix before you strip the model.
Safety Check
- • Priming is an outdoor/ventilated activity.
- • Use organic vapor respirators for aerosols.
- • Keep cans away from open flame.
What to Gather After You Choose
Primer for Miniatures — FAQ
Do I need primer for miniature painting on plastic minis?
Can I use hardware-store spray primer?
Why is my primer gritty or fuzzy?
Is primer the same as varnish or sealer?
Ready to Prime the Squad?
You came for primer for miniatures that actually sticks. You now have the decision guide, thin-coat rules, and undercoat logic. Grab bench supplies next and paint with confidence.
One Nerdy Dad — from printer to painted, kitchen-table friendly.