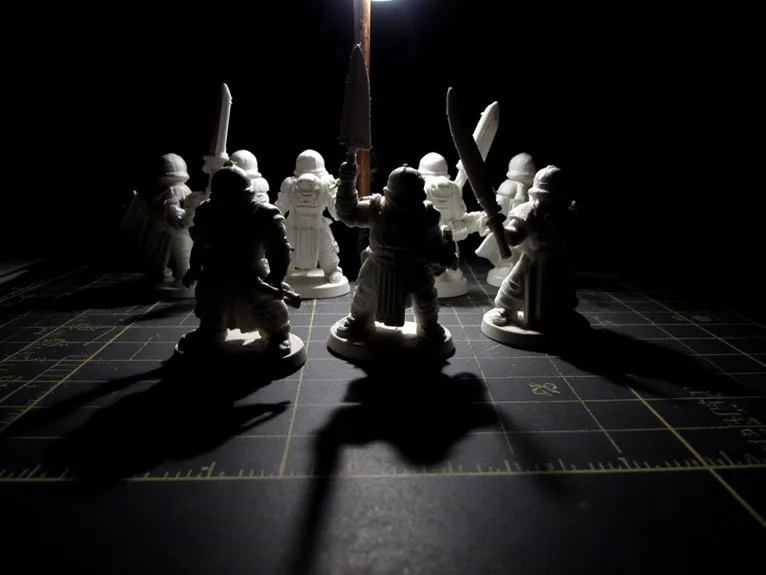
Miniature Highlighting: Three Techniques That Make Models Look 3D
Want to know why some painted miniatures look flat while others seem to have real light falling on them? The answer is almost always highlights. Learn the techniques every painter relies on — layering, edge highlighting, and drybrushing.
What Highlighting Actually Does — and Why It Matters
A miniature that has only been base-coated looks the same on every surface. Highlighting fixes that by applying progressively lighter colors to the areas that would catch light — the tops of raised areas, the edges of armor plates, the ridges of fabric — while the recessed and shadowed areas stay at the base color or darker.
The result is that your eye reads the model as three-dimensional rather than as a painted lump. Even one highlight pass over a flat base coat usually makes a figure read more clearly on the tabletop.
The order below — layer, then edge highlight, then drybrush — is one workable sequence, not a physical requirement. Some painters drybrush texture first and sharpen the edges afterwards; both are workflow choices. What matters is that each pass gets lighter and covers less area.
Consistent Light
Pick a direction (usually above). Every highlight goes on the side facing that direction for realistic depth.
Progressive Reduction
Highlights get lighter and cover a smaller area with each pass. The final highlight is just a thin tip.
Paint Consistency
The lighter the highlight, the more diluted the paint needs to be to keep transitions smooth and non-chalky.
Layering Highlights Step by Step
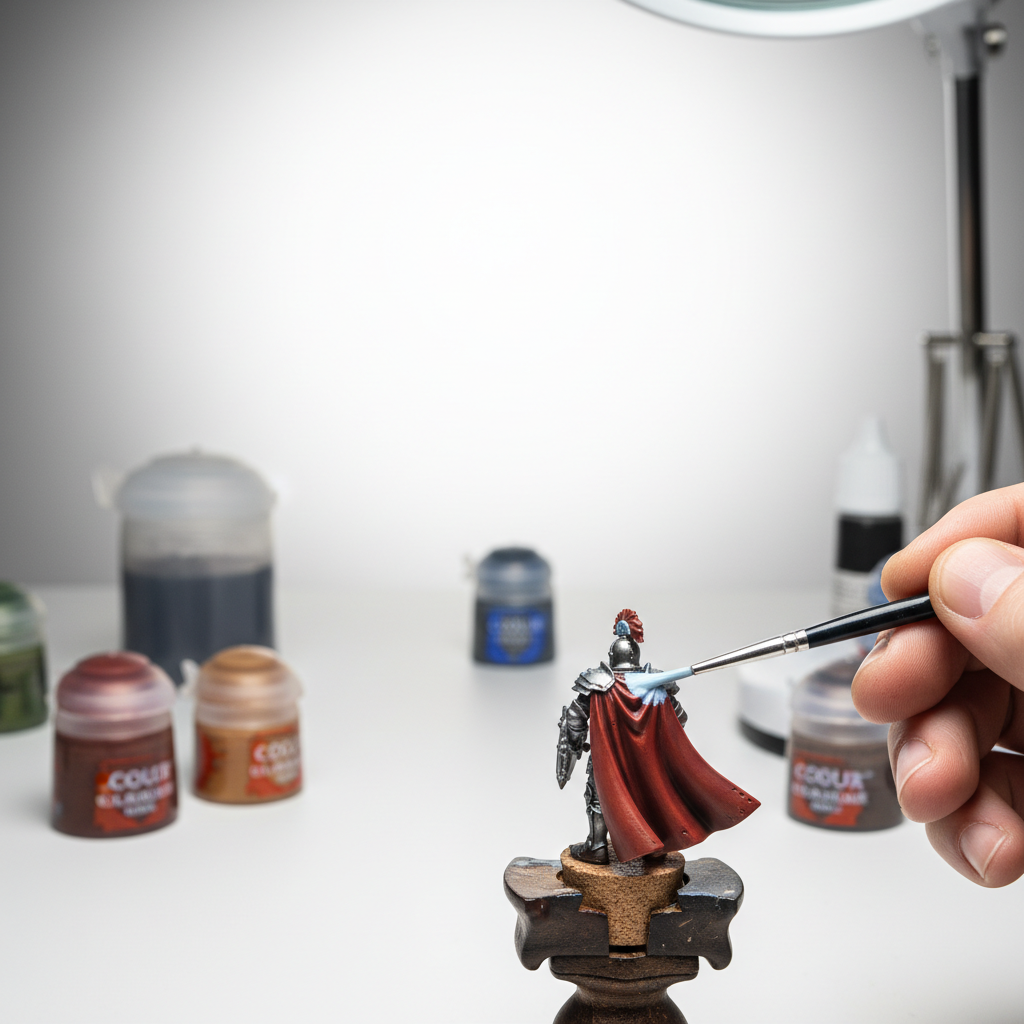
Layering is the most versatile highlighting method. You build from your base color toward white in two to four passes, each one covering a smaller area.
Step 1 — Start From Your Base Color
Mix your first highlight by adding ivory to your base. This layer should cover the upper half of curved surfaces. Thin the paint until it flows off the brush without pooling; use the paint line's thinning guidance rather than a fixed milk-like target.
Step 2 — Reduce the Area
Mix an even lighter color for the upper third of the surface. You are reinforcing the brightest points, not repainting the whole area.
Edge Highlighting — For Armor and Geometry
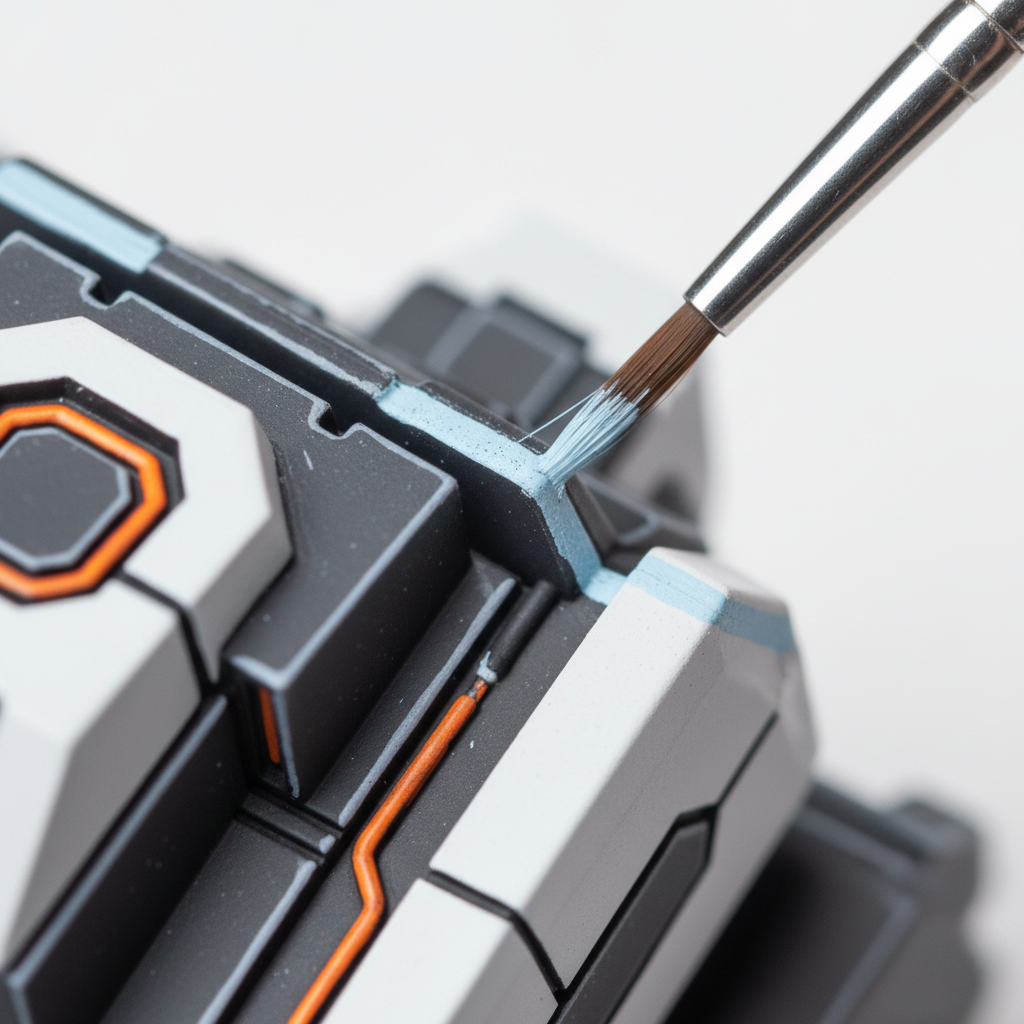
Edge highlighting is used on surfaces with hard edges like power armor or sword blades. Instead of blending, you paint a thin line along the physical edge.
Step 1 — Load the Brush Correctly
Use a size 0 or 000 brush. Load paint onto the tip only and pull most of it off until it leaves a hairline rather than a bead.
Step 2 — Walk the Edge
Rest the side of your brush tip against the edge and drag it in a single slow stroke. Let the bristles track the physical edge.
Drybrushing — For Textures and Fur
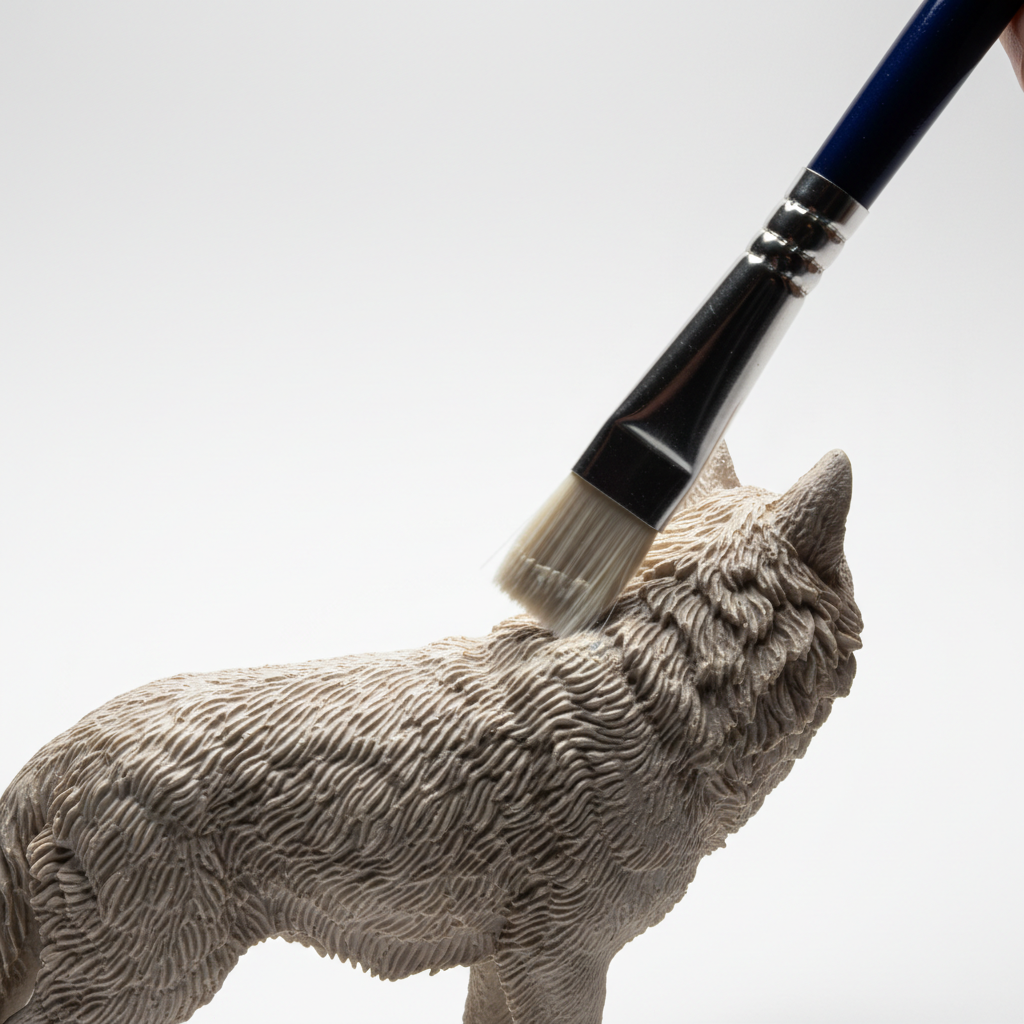
Drybrushing is the fastest way to highlight fur, stone, and chainmail. It deposits light color on every raised surface simultaneously.
Step 1 — Remove Almost All Paint
Wipe your brush on a paper towel until almost no paint transfers. Test it on your hand; you should barely see color.
Step 2 — Sweep Quickly
Use rapid, feathery strokes across the texture. Work in multiple directions to ensure highlights hit evenly.
How to Choose Your Highlight Colors
A useful default is to shift the hue slightly warm as you go lighter rather than only adding white. Pure white often desaturates and produces a cold, chalky result.
Adding Ivory/Cream
For blues, greens, and reds, ivory keeps the highlight warmer and more natural than pure white.
Adding Yellow
For browns, oranges, and skin tones, yellow shifts the highlight toward a sunlit appearance.
Skin Tones
Adding a pinkish-beige to flesh highlights produces a more lifelike result than stark white or yellow.
Frequently Asked Questions
Do I need to highlight every miniature?
What is edge highlighting?
How is drybrushing different from layering?
Ready to master more skills?
Check out our guides on Best Brushes for Miniatures and How to Prime for the perfect start to your hobby journey.
Explore All Guides