Learn trigger control and paint consistency with this beginner's guide — setup, thinning and cleaning steps you can adapt to your own airbrush and paints.
We are supported by our audience. When you purchase through links on our site, we may earn an affiliate commission, at no extra cost for you.
Want to lay down smooth, even basecoats in a fraction of the time brush work takes, or build up subtle gradients that are nearly impossible with a brush? Airbrushing looks technical from the outside, but the core skills come down to four learnable steps: setup, trigger control, thinning, and cleaning. Get those right and your first sessions will be far more predictable.
This guide covers the order that works — connection and pressure, trigger control, thinning, cleaning and troubleshooting — with checks you can adapt to your own airbrush, paints and their labels. It also covers the problems that stop most beginners and how to work through them without guessing.
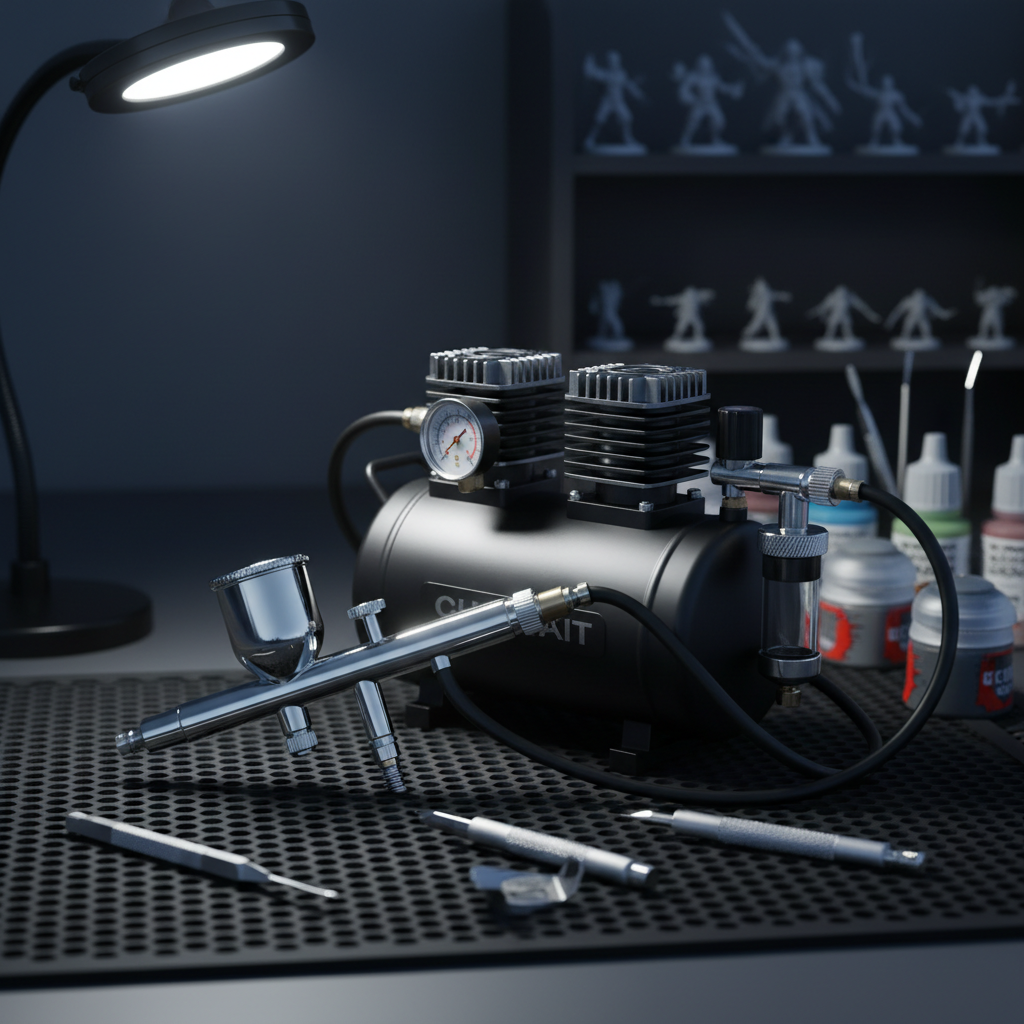
You don't need an elaborate setup to start airbrushing miniatures. Here is what actually matters, and why each piece is important:
Dual-Action Airbrush
Many miniature painters start with a gravity-feed brush and a mid-size nozzle because that combination covers a lot of work. It is a common starting point, not a rule: 0.2 mm, 0.35 mm and 0.4 mm brushes all have uses, and the right choice depends on your paint and the detail you need.
Compressor & Trap
A compressor with a regulator and moisture trap lets you set and hold a usable pressure. A tank smooths pulsation, but a tankless model can also work within its rated duty cycle; check the maker's working-pressure, airflow and duty specifications.
Screw the PTFE hose onto the compressor and airbrush. Hand-tight is enough; overtightening cracks the fittings.
2.
Check the Needle
Confirm the tip is straight by gently rolling it on a flat surface. A bent needle causes side-spray.
3.
Set Starting Pressure
Set a starting pressure that suits your airbrush and paint rather than copying a fixed number. Iwata's FAQ notes that working pressure varies with the airbrush and material. Start within your regulator's usable range, spray a test pattern, and adjust from there.
The One Technique Rule: Air Before Paint
03
The most common beginner mistake is pressing and pulling the trigger at the same time. This dumps paint before air pressure has built up, causing splatters and blobs.
Step 01
Position
5–10 cm from surface
Step 02
Air On
Press trigger DOWN
Step 03
Paint On
Pull trigger BACK
Step 04
Paint Off
Push trigger FORWARD
Step 05
Air Off
Release trigger
How to Thin Your Paints
04
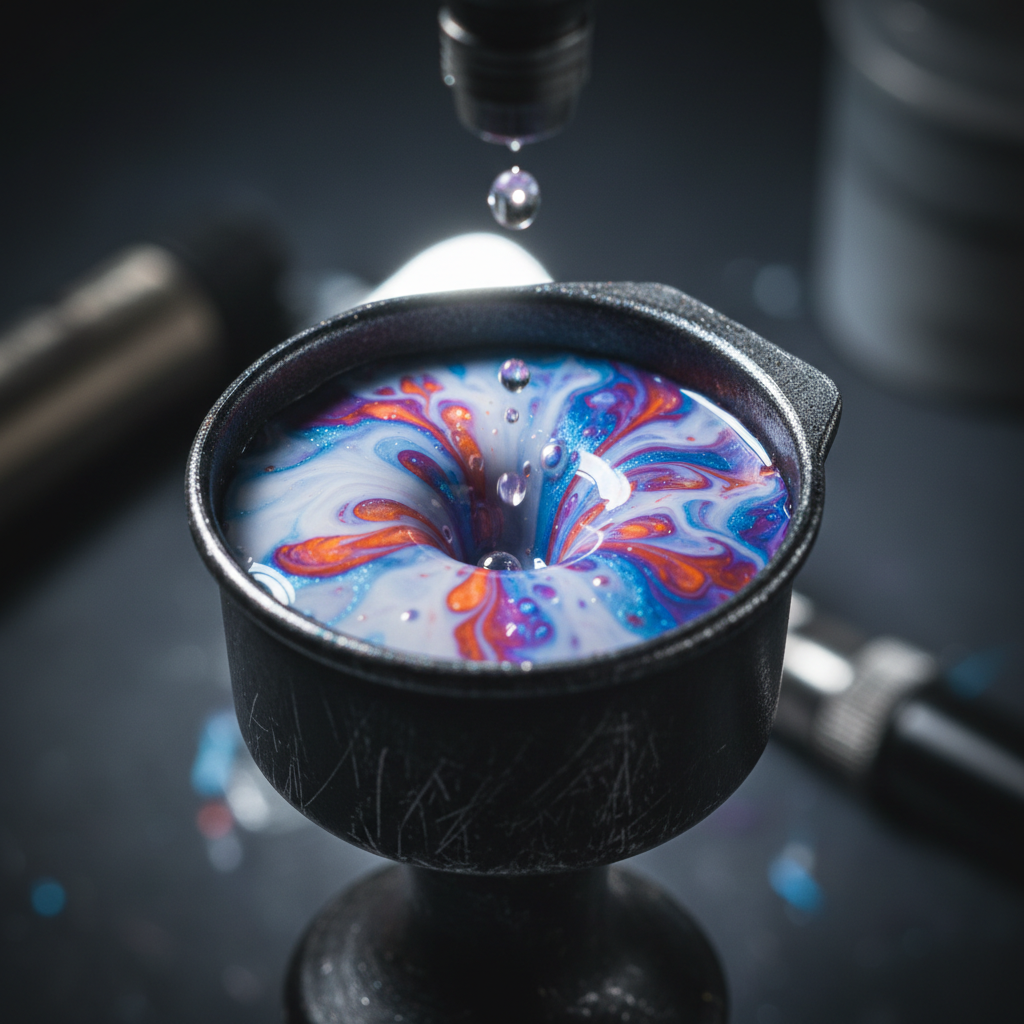
A Thin, Flowing Consistency
Aim for a mix that sprays in a thin, continuous stream without clumps. "Skim milk" is one common visual comparison, not a universal target: some airbrush-ready paints need little or no thinning, and the paint label or maker's guidance is the better starting point.
Thin in small increments; test on scrap
Record the ratio as paint:thinner
Not sure of the exact ratio for your specific paint brand?
Use the calculator as a starting point, then test the mix on scrap for your paint and nozzle.
Cleaning Your Airbrush Effectively
05
Clean the paint path — cup, needle and nozzle — after each session, and follow your airbrush maker's instructions for which parts can be removed or soaked. Iwata's cleaning guide, for example, separates quick, end-of-session and deep cleaning.
Quick Flush
Pour out the paint, add a cleaner suited to the paint, and spray until the spray runs clear. The number of passes depends on the paint and brush, so judge by the spray rather than a fixed count.
End of Session
Flush until clear, then clean the paint path as your manual directs. Remove the needle only if your model allows it, and wipe from the back of the needle toward the tip with a lint-free cloth. Do not soak the whole airbrush.
When Something Goes Wrong
06
Clogging or Barely Spraying
Scenario: Mid-session blockages
Dried or partly cured paint is one common cause, but a dirty nozzle, paint that is too thick, or a needle/nozzle mismatch can look the same. Clean the paint path and test. If you soak a removable part, use a cleaner and soak time allowed by the airbrush and cleaner makers — Iwata's guide limits its specified part soak to ten minutes.
Spattering and Paint Blobs
Scenario: Uneven spray patterns
Check paint thickness, pressure, and needle/nozzle cleanliness. Change one variable at a time and test on scrap; a pressure change that fixes one paint load may not suit another.
Setting Up a Safe Place to Spray
07
Minimum Setup
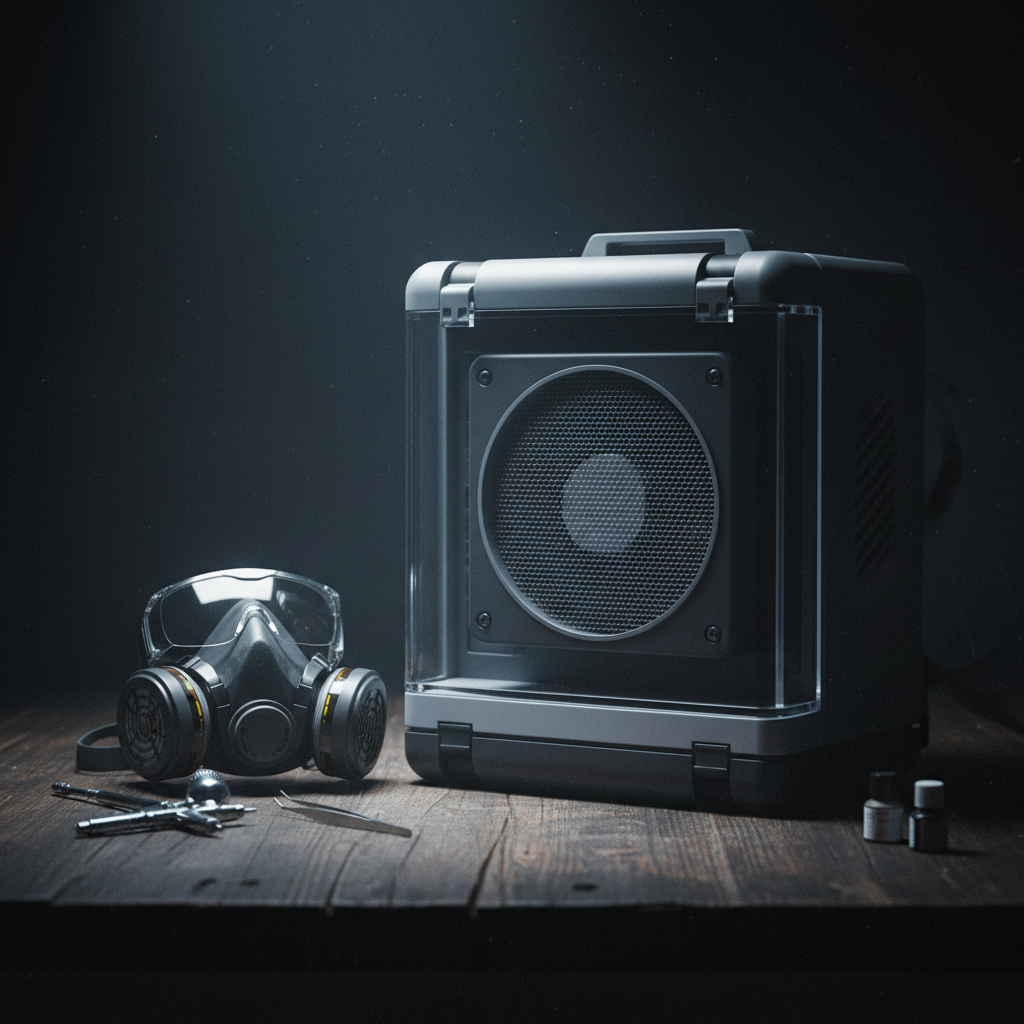
Ventilate the room and move air away from your breathing zone toward an exit. A cardboard box can contain overspray, but it does not replace ventilation.
Better Setup
A spray booth with a fan and filter can reduce airborne paint; check that it suits the paints you use.
Personal Mask
Choose respiratory protection for the products and exposure you actually have. Check the product label or safety data sheet and local guidance; a booth or open window does not replace the protection the product calls for.
Frequently Asked Questions
08
Do I need a dual-action airbrush?
Not necessarily. A dual-action brush lets you change air and paint independently mid-stroke, which many painters find useful. A single-action brush with a fine nozzle and carefully set paint flow can also spray small areas; the trade-off is stopping to adjust rather than changing volume during a pass.
What is the difference between thinner and flow improver?
Thinner lowers viscosity so the paint flows; flow improver and retarder slow drying and can reduce tip dry. They are different products, so check the paint and additive labels before combining them, and test the mix on scrap.
Can I use Citadel paints?
Many Citadel paints are thicker than airbrush-ready lines and need thinning, but the amount depends on the specific paint, nozzle and pressure. Follow the paint maker's guidance, thin in small increments, and record the ratio that works. Vallejo Air is one example of a pre-thinned line; check the label for the product you have.
SUMMARY
Notable Insights for Success
Air Always First
The single most impactful habit to prevent splattering and blobs.
Test on Scrap
A quick spray on scrap card shows whether the mix and pressure are usable before they reach the model.
Flush as You Go
Flushing between colours keeps the paint path clear; deep-clean on the schedule your manual gives.