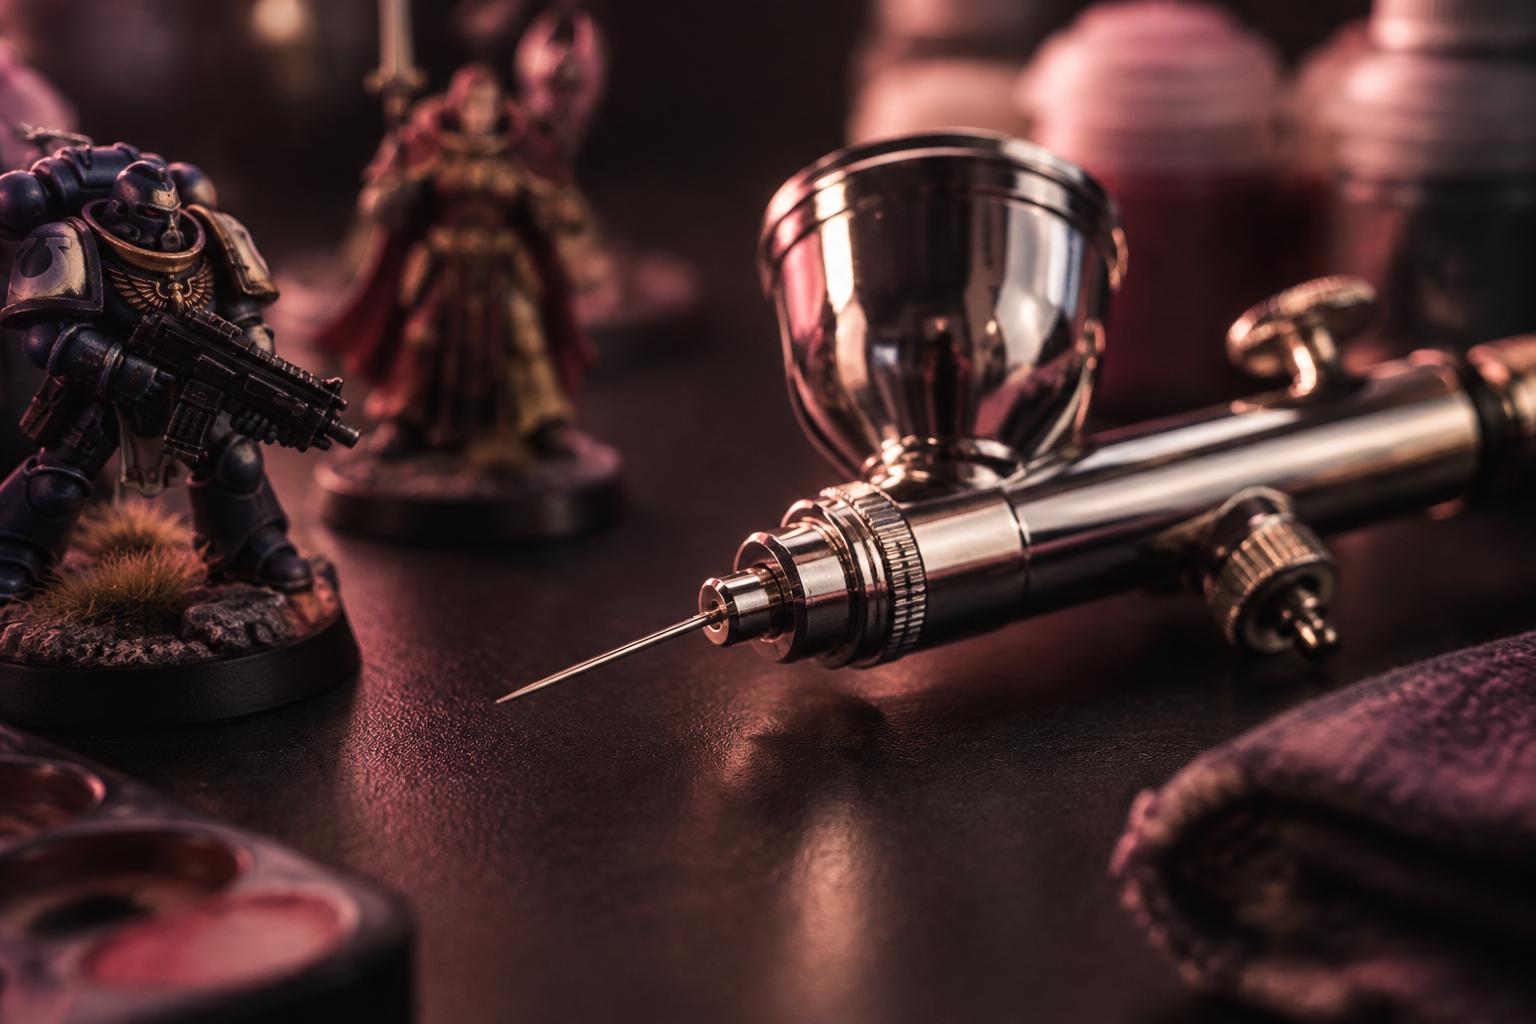
Airbrush Acrylic Paint: How to Choose, Thin, and Get Great Adhesion
You load the cup, pull the trigger, and the paint spatters, clogs the needle, or beads off the model. Not every acrylic is ready to spray straight from the pot, and even a paint that works needs the right consistency and surface prep to stick.
What Makes an Acrylic Paint Actually Airbrush-Ready
Airbrush-Formulated
Formulated for spraying, often with little or no thinning. The label states the intended nozzle and consistency, so check it rather than assuming every "airbrush" paint behaves the same.
Standard Hobby
Designed for brush work and usually needs thinning for an airbrush. How much depends on the paint, nozzle and pressure — test in small increments.
Craft & Student
Often thicker and less predictable through a fine nozzle. It can work when thinned and tested, but results vary with the pigment, medium and nozzle.
The Quick Test: A Thin, Continuous Stream
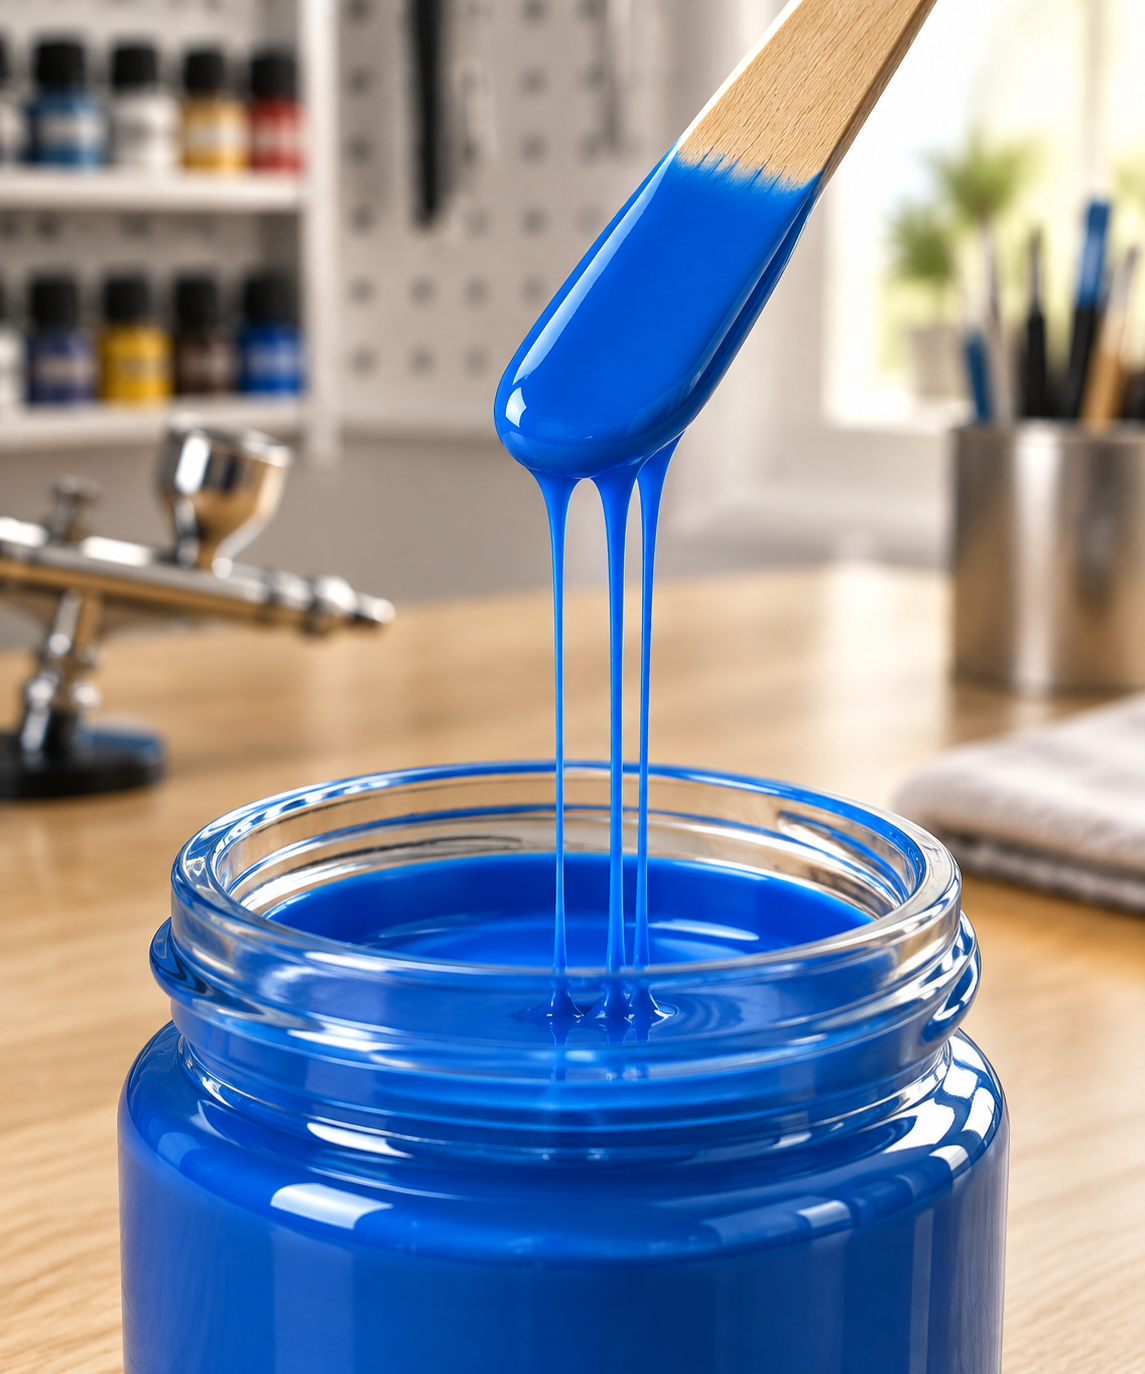
A useful check is whether the mix flows off a mixing stick in a thin, continuous stream without clumps. "Skim milk" is a common comparison, not a universal specification: some airbrush-ready paints spray well with little or no thinning, and thick or watery behaviour can also come from the wrong pressure or a dirty nozzle.
Dilution Ratios: Illustrative Starting Points
The right mix depends on the paint's base viscosity, the nozzle, the pressure and the technique. These are broad illustrative starting points for a test batch, not manufacturer specifications or universal ratios — check the paint label and record the ratio as paint:thinner.
| Paint Type | 0.5 mm Nozzle | 0.3 mm Nozzle | 0.2 mm Nozzle |
|---|---|---|---|
| Airbrush-formulated | Try as supplied | Little or no thinning | May need slight thinning |
| Standard hobby (model) | Start around 1:1 (paint:thinner) | Start around 1:1 to 1:1.5 | Start around 1:2 |
| Craft/student acrylic | Start around 1:2 | Start around 1:2 to 1:3 | Start around 1:3; test carefully |
* Illustrative only, not a product spec. Different colours and lines vary; confirm on the label and test on scrap.
Water vs. Airbrush Medium
Water can thin many water-based acrylics, but it also lowers the binder concentration and may increase tip dry or affect adhesion. Some makers advise their own thinner instead; follow the paint label.
Airbrush medium is a thinning or flow aid. Flow improver and retarder are separate products with their own instructions. Check the paint and additive labels before combining them, and test the mix on scrap.
Want a starting point for your paint type and nozzle?
Open CalculatorEstimate a starting mix, then test it on scrap before spraying the model.
Why Surface Preparation Matters for Adhesion
Adhesion problems often start at the surface, but paint chemistry, cure and handling can also contribute. Acrylic paint needs a clean, compatible surface; primer is one common way to give it a consistent key.
Signs that can have more than one cause:
- • Paint chips off at edges and high-wear points.
- • Paint beads up or pools rather than flowing flat.
- • Dry paint flakes off in sheets when flexed.
Plastic & Resin
Primer gives a mechanical key. For resin, washing with a mild soap solution is commonly recommended to remove mould-release residue; check the resin maker's guidance.
Metal Miniatures
Metal often needs a metal-specific or etch primer; follow the primer maker's guidance for the metal and the paint you will use.
Airbrushable Primer
Gives an even, thin coat that preserves detail. Follow the primer label for thinning, recoat and cure; do not assume it thins like your colour paint.
Tip Dry and Clogs: What to Check
These look like airbrush failures, but they are usually maintenance and chemistry issues.
Tip Dry
Paint drying at the needle tip during spraying can cause spitting and splatter.
CHECK:
Add a retarder or flow improver only as the paint and additive labels allow, and adjust pressure within the range your airbrush and paint maker give. Change one variable at a time and test on scrap.
Clogging
A partial or full blockage can come from paint that is too thick, partly dried paint, a dirty needle or nozzle, or a paint that does not suit the nozzle. Nozzle diameter alone does not predict whether a given paint will clog.
CHECK:
Clean the paint path, then thin in small increments and test. Follow the airbrush maker's cleaning instructions before soaking or disassembling anything.
Needle Clean-up Habit: After a session, flush with a cleaner suited to the paint until the spray runs clear, following the airbrush maker's cleaning instructions. Wipe the needle from the back toward the tip only if your model allows needle removal.
Step-by-step: Airbrush Cleaning Guide →Keep Painting: Related Guides
How to Airbrush Miniatures
Step-by-step technique from setup through your first smooth base coat.
Read the GuideMiniature Painting Supplies
The full kit list — paints, brushes, primer, and tools — for painters at every level.
See the ListThinning Ratio Calculator
Enter your paint type and nozzle size, and get a dilution starting point instantly.
Open the CalculatorAirbrush Acrylic Paint: Common Questions
Can I use regular acrylic paint in an airbrush?
Often, yes, if the paint can be thinned for spraying. Follow the paint maker's guidance, thin in small increments, and test on scrap. Some craft and student paints contain ingredients that spray poorly, so test before committing a model.
What is the right dilution ratio for airbrush acrylic paint?
There is no single ratio. Airbrush-formulated paints may need little or no thinning; many hobby paints need some. A common broad starting point is around equal parts paint and thinner for a mid-size nozzle, but the label and a scrap test decide.
Should I thin airbrush acrylic paint with water or with airbrush medium?
Water can work for small adjustments on many water-based acrylics, but it lowers binder concentration and may affect tip dry or adhesion. Airbrush medium, flow improver and retarder are different products; check the labels before substituting or combining.
Why does my airbrush keep clogging with acrylic paint?
Common causes include paint that is too thick or partly dried, a dirty needle or nozzle, and a paint that does not suit the nozzle. Clean the paint path first, then thin in small increments and test.
Do I need to prime before using airbrush acrylic paint on miniatures?
For miniatures, priming is the usual approach because it gives acrylic a consistent surface to key to, especially on bare plastic, resin or metal. Follow the primer label for drying, recoat and cure windows.
Why does my airbrush paint spit and spatter instead of spraying smoothly?
Tip dry is one common cause, but thick paint, a dirty nozzle or an air leak can produce a similar spatter. Check those in turn and change one variable at a time.
Dial In Your Ratio Before You Paint
Get the math out of the way before your next session. The Airbrush Thinning Ratio Calculator gives you a starting dilution for your paint type and nozzle combination — so you spend your hobby time painting, not troubleshooting.
Open the Airbrush Thinning Ratio CalculatorSpend your hobby time painting, not troubleshooting.