The short answer
Work with a damp wet-and-dry abrasive when the whole assembly can take water. Work dry, by hand, when something on the model would be damaged by water.

Either way, the putty has to be fully cured first. A patch that feels firm at the edge but still gives under a fingernail is not ready for an abrasive, and no choice of wet or dry changes that.
Wait for the full cure, not just a hard surface
Milliput's own how-to page describes mixed putty going rock hard in roughly three to four hours at 20-25 °C, then continuing to cure for a further interval about as long as the setting time at that temperature. The same page says fully cured putty can be sandpapered, filed and painted, which is the permission you are waiting for.
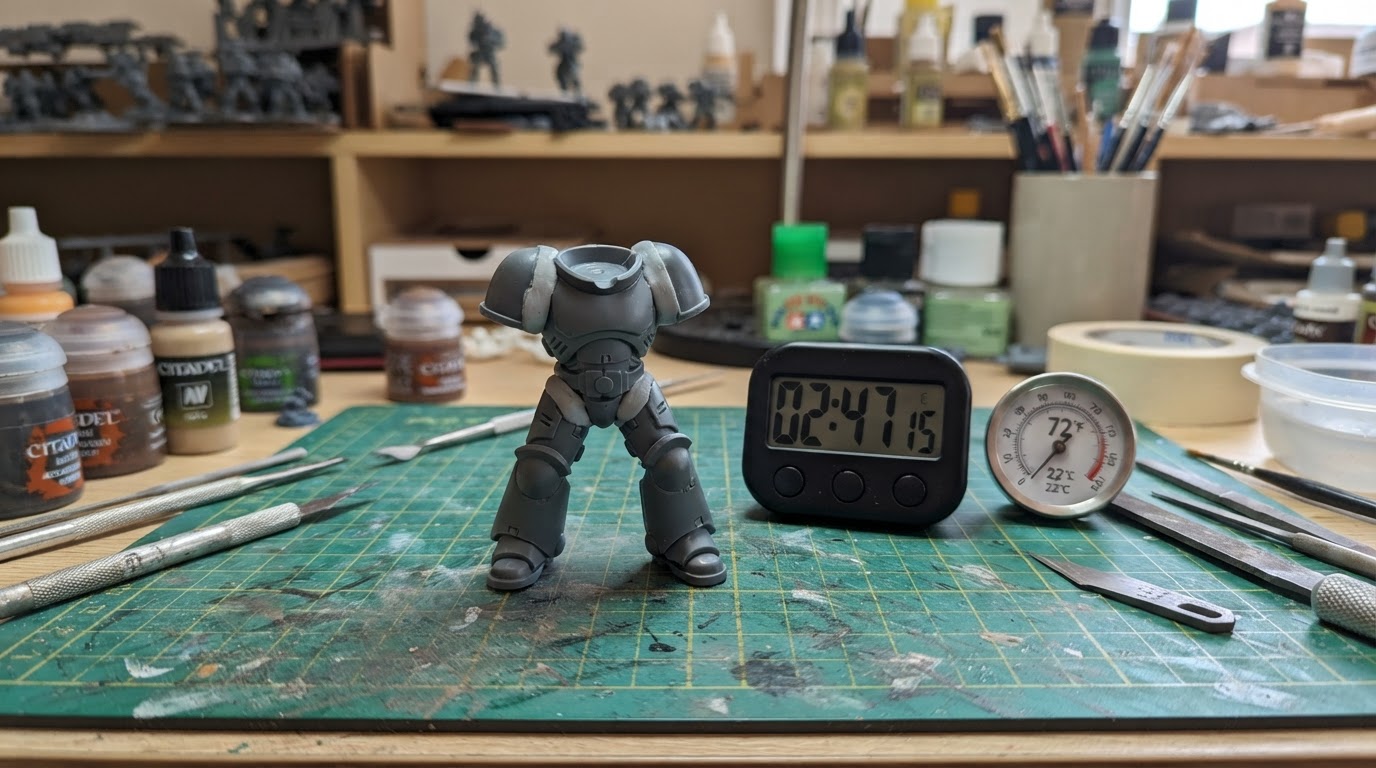
Hard set and full cure are two different stages. Firmness at the surface arrives first, and the further cure interval is what makes the patch safe to work. A fingernail that sinks into the surface or leaves a mark shows the putty is still soft, but a fingernail that does not mark it cannot certify that the patch is fully cured. The usable check is elapsed time and the actual room temperature against the maker's published window.
An uncured resin part is not a sanding candidate at all: it needs its own cure before any abrasive touches it. If the Milliput patch never hardens, sanding is the wrong next step. Mix, cure window and storage are different checks, and Milliput not hardening on a miniature covers them before you refill or repaint anything.
Wet sanding means a damp abrasive, not a rinse
Wet-and-dry paper used damp can limit how much dust goes airborne. It does not eliminate exposure: the abrasive still cuts cured putty into a slurry that has to be wiped away, and the work still needs the handling precautions printed on the package. Damp paper is a way to run the abrasive, not an instruction to soak the whole model.
Wet sanding is also not the same thing as the maker's water-smoothing technique. The same how-to page describes water as a way to stop tools and fingers sticking while soft putty is shaped. That is a shaping aid for uncured putty. Sanding happens later, on a patch that has already cured.
The wet-or-dry choice turns on what else is on the model. Inspect the actual base, the adhesives, the finish and the assembly rather than assuming from a material label. A water-based glue is not automatically water-sensitive, and not every resin part is softened by a splash, but an unfinished base material that soaks water up, paper or card elements, or a hollow section where moisture can sit all change the answer for that model. If the assembly cannot be dampened safely, damp abrasion is not the right default for it.
Wipe the slurry off while it is still wet, and look at the seam again once the surface has dried. Dried putty slurry collects in panel lines, cloak folds and any recess near the repair, where it can read as a filled seam or a lost detail line after the model is primed. Clear a recess gently with a cloth held over the opening, then wipe the surface dry. That is cleanup, not a faster route to a finished seam.
One manufacturer-hosted account worth reading is the Marcus Cassar Sarpedon case study, which describes working cured Standard Yellow/Grey Milliput on a model and finishing with wet-and-dry sandpaper for a smooth result. Treat it as that sculptor's workflow with those grades. It shows that wet-and-dry abrasion has a real place in finishing cured Milliput, and it does not show a required grit sequence or tell you whether your own assembly can be wetted. It also does not cover Superfine White, so do not read the account as a statement about how every grade behaves.
Dry hand work when the model cannot take water
Dry hand work avoids wetting the model, and it brings its own dust precautions rather than replacing them. Keep the abrasive small, work over a tray that collects the debris, and use local dust collection or ventilation plus the protective equipment that the material and task guidance call for.
Cured putty powder settles on the bench and into recesses. Wipe the surface with a dry cloth as you go and clear recesses so the residue ends up in the cloth or the tray instead of in the air. The tray catches what falls off the model; it does not tell you what is suspended in the air around the bench.
Do not blow dust off the model with your breath or an air line, and do not take a power tool to a seam near the face. Cured Milliput dust cannot be called harmless on the evidence here, and no exposure threshold is offered that you could rely on. Follow the maker's safety notes, work in a ventilated spot, and keep dust out of the air instead of moving it around the bench.
Keep the seam local
The physical work is the same wet or dry. Use a small backed abrasive, such as a narrow strip wrapped around a stick or a fine sponge pad, so the cutting surface touches the seam rather than the surrounding detail. Start with the finest grade that actually removes the step, and go coarser only if the first passes merely polish the putty.
Work in short strokes along the seam. Long strokes across a shoulder, a face or a raised emblem take detail off faster than they flatten the repair. Lift the abrasive often and look at the surface dry, because a damp surface hides both the remaining step and the scratches you are creating.
Alternate the stroke direction between grades. A pass at 45 degrees to the seam, followed by one along it, makes the coarser scratches show against the finer ones, so you can see whether the earlier pass is gone instead of guessing. Keep the backing stiff enough that a corner cannot dig in and cut a groove beside the repair.
Step down through finer grades to remove the scratch pattern from the previous pass. Neither the Milliput how-to page nor the Sarpedon account supplies a mandatory grit sequence, so pick grades by what the seam needs and stop when the surface is level rather than following a fixed sequence.
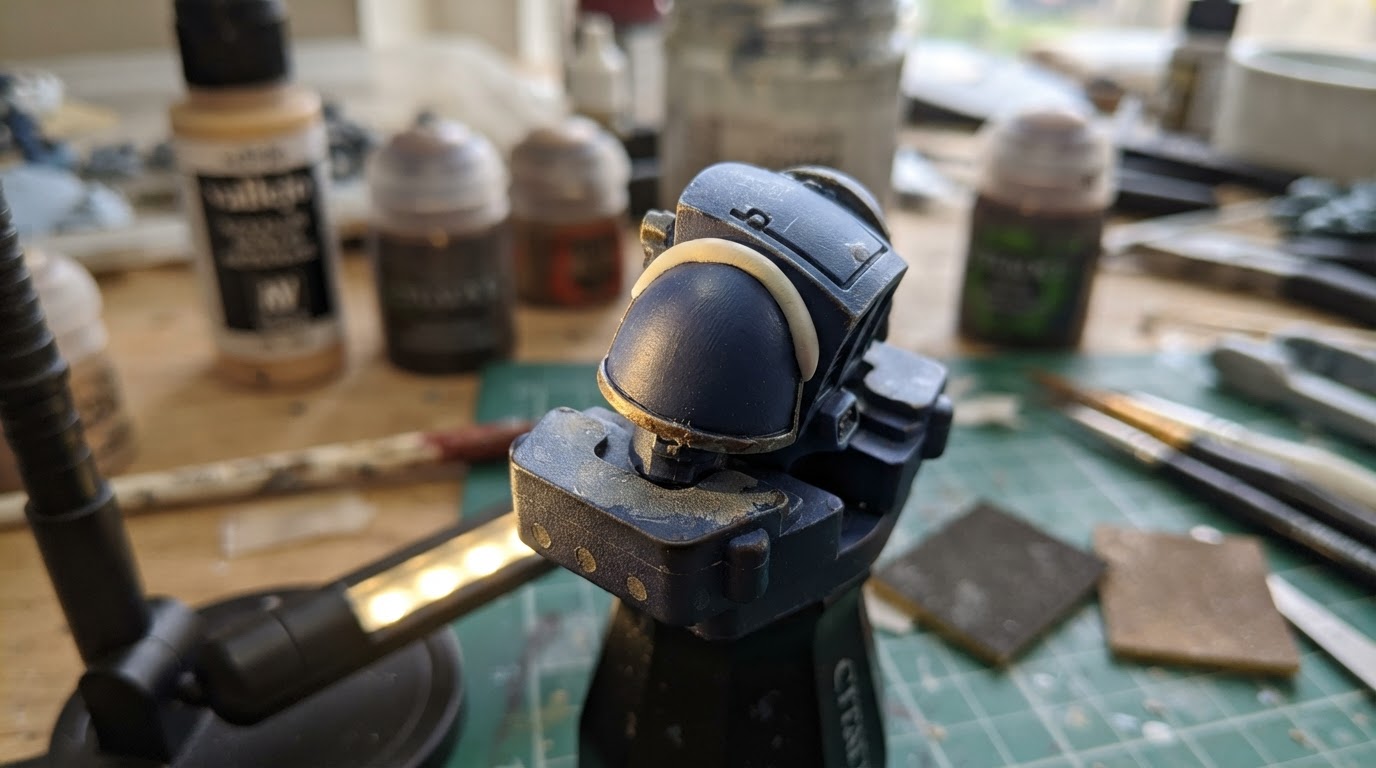
A workable completion check: hold the model under a raking light at arm's length. The seam should read as a continuous surface with no visible step where putty meets plastic or resin, and the last pass's scratch pattern should sit inside the former seam area instead of crossing nearby detail.
Dry, clean and tested before primer
Water from sanding has to leave before paint goes on. Recesses, cloak folds and hollow sections hold moisture longer than the surface you were working, so give the model time to dry fully and check it instead of wiping it and carrying on.
Clean dust out of recesses with a cloth rather than blowing it out, which only moves it along.
Primer compatibility is a separate question from sanding. The maker's page states that fully cured putty can be painted, but that is not a guarantee that your primer will cover the scratch pattern you left or bond the same way it does to the surrounding material. Test on a scrap of cured putty, or on a hidden area of the same repair, before committing a whole model.
Judge the seam again after the first primer coat has dried. Primer lays a uniform tone over plastic, resin and putty at once, and a step or a scratch pattern that survived sanding often becomes easier to see at that point than it was on bare material. Fixing it then costs one more local sanding pass and a spot of primer rather than a finished paint job.