What Decides the Order
Three things settle it: the material, the colour you want it to end up, and what the adhesive and the surface underneath will accept.
Material | Painted with the base? | Usual order |
|---|---|---|
Fine sand, grit, ballast | Basecoat and drybrush | Glued before the primer coat |
Torn cork or plaster rubble | Usually at least a drybrush | Glued before the primer coat, so one pass covers cork and base |
Flock, tufts, pre-dyed scatter | Not by default, the supplied colour is the point | After nearby painting |
Static grass over painted ground | No | After nearby painting |
These are defaults, not rules. Glue raw sand onto an already finished base and you can still paint it; the cost is a second painting pass and matching it to ground you have already coloured. Glue a precoloured tuft on before priming and you can paint it deliberately — the advice about keeping supplied colour and texture only applies when keeping them is what you want.
Mixed bases are common. Sand around the model's feet and two tufts at the back use the early order for the sand and the late one for the tufts.

When Unpainted Grit Goes Under the Paint
Uncoloured sand, grit and torn cork get their colour from you. Gluing them down first puts them on the same painting schedule as everything else, so one priming and basecoating pass covers texture and flat base alike.
The Army Painter's product page for its Battlefield Basing Glue describes the PVA used for this step: a water-soluble polyvinyl acetate, white while wet and transparent once dry, intended for rocks, sand, grass and similar material on a base or terrain. The page lists cork, plaster, XPS foam, Styrofoam, wood, paper and cardboard among the materials it bonds, and notes that a larger area can be spread with an old brush. It sets no order of operations, so on its own it supports neither sequence.
Primer has its own documented job. The Army Painter's beginner guide describes priming as creating "a base coat for your paints to adhere to," which is a paint-adhesion step. The basing glue page does not present primer as a prerequisite for PVA. If your base is already primed, that is a different surface and the glue page claims no preference for it, so test on scrap instead of assuming.
Whether you glue the mini to the base before or after painting is a separate decision from texture order, and the material split here holds either way. Keep grit out of the joint you care about while it sets; whether that patch has to stay bare depends on the adhesive used for the model itself, so check its directions rather than assume.
Why Precoloured Material Usually Goes On Last
Flock, tufts and pre-dyed scatter arrive with the colour and texture their maker intended. A primer coat over them covers that colour and mats the fibres, and paint applied afterwards works against the texture instead of describing it. That is the reason for the delay, not a prohibition on ever painting them.
The delay also keeps brushes, drybrush strokes and spray cans away from finished material. A tuft glued early sits in the way, and overspray that reaches it can dull the fibres and is fiddly to clean out of them.
Tufts and pre-glued scatter are not one product. Many are sold with their own adhesive — a self-adhesive base or a specified glue in the pack — and that instruction governs. A compatible PVA can supplement suitable basing material where the maker allows it, but it is not the answer for every tuft or every glue, and it does not replace reading the pack.
If a tuft or a patch of flock works loose later, reattach it with the adhesive its maker specifies. Some flock and tuft systems are sold with, or documented to work with, a sealing step; where sealing is part of the system, follow it. A top coat is not a general repair for a joint that did not take, and it is not automatically harmful — the material's own instructions decide.
What Army Painter's Beginner Sequence Shows
The beginner timeline on that same get-started page runs assemble, prime, paint, base, complete. Basing is described as creating "an environment for your miniature's base," with the basing glue recommended for the step. That is a published workflow in which basing follows painting, and it suits precoloured grass and tufts directly.
It is a beginner path, not a compatibility table. Read as a ban on texture before primer, it overreaches. Both orders end with a painted or primed base; they differ in whether the texture sits under the paint or on top of it.
A Workflow That Handles Both Orders
- Sort the material by the table above, and read each product's own adhesive directions.
- Test a sample on scrap of the same base material, primed if your base will be primed. It gives practical evidence about that combination; it is not a guarantee of how the bond will hold years later.
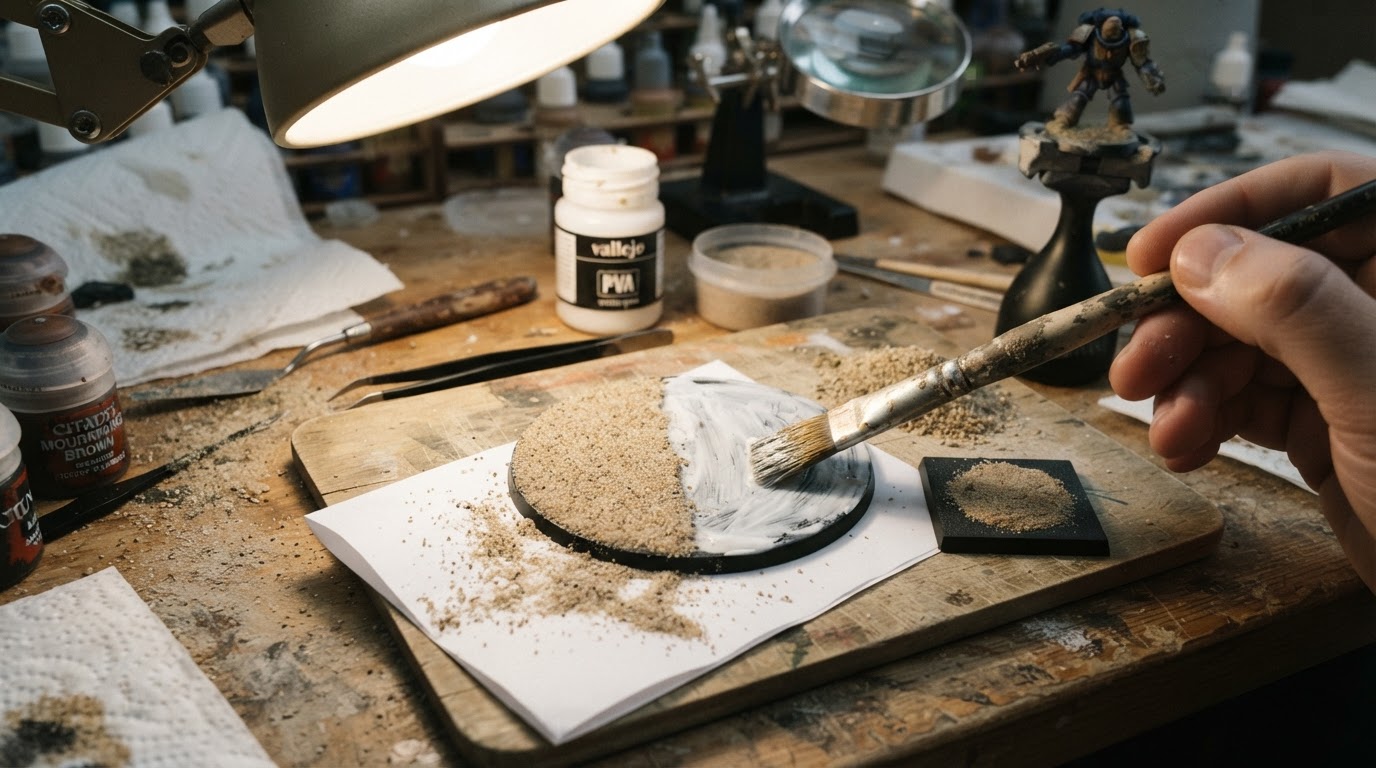
- Glue the painted group early if you intend to paint over it: an even coat, press the material in, tap the excess onto paper for reuse.
- Let it dry as the label says before priming or painting over it. White turning clear is a visual cue on some products, not a universal full-cure test.
- Prime and paint the base with the model, or finish the ground colour now and keep the rim clean.
- Add precoloured material last, following its own adhesive directions.
- Check the finished base. Tap it on the bench and tilt it. Loose grains, rocking cork or a lifted edge point at the surface, the material or the adhesive before they point at the order.
That check is the same one used in our DIY miniature basing materials guide, which covers choosing and testing sand, cork and bark before they go near a model. This page is about primer order; material selection, cleaning and particle scale belong there.
Where PVA Stops and Model Glue Takes Over
PVA glue for basing miniatures suits light, porous texture. It is not the right adhesive for the model's own joints. The Army Painter's basing glue page says the product "doesn't work as well on plastics and metals" and recommends adding the company's plastic glue and super glue to your toolbox.
That is the scope of the product described here, not a verdict on every PVA formulation; other brands publish their own surfaces and limits. What carries across them is the distinction: sand, flock, cork and plaster are texture, while a miniature's feet, a pinned arm or a heavy metal part are structural joins that belong on an adhesive intended for that material. Choosing the best glue for basing miniatures runs into the same question as the primer order — what the material is, and how the join will be loaded.
If the texture includes a heavy chunk with a small contact patch, test that piece before committing it. A bond that holds fine grit does not automatically hold weight.
What the Label Still Has to Decide
The product page calls the glue water-soluble and says it can be thinned with water "to achieve the desired viscosity." It publishes no ratio, and no drying time worth carrying between bottles, rooms or seasons. Start neat for the scrap test, thin only if the label or the test suggests it, and follow the maker's guidance on anything that affects the finish.
Material preparation decides part of the outcome too. Clean, dry material bonds more predictably than damp or dusty samples, which is why the guide linked above starts with preparation.
When a test piece fails, look at the surface, the material and the adhesive before isolating a cause — but order is not neutral. Texture glued before primer means the later coats land on the grains while the glue has bonded to bare base material. Texture glued after means the adhesive meets primer or paint, a different surface with different grip. Placing the blame on one variable alone will often send you back to the bench with the same combination.