What a clogged nozzle does and does not prove
A tip can stop flowing at the opening, or glue can have set further down the neck or in the bottle. Those are different problems, but what you see from outside does not reliably separate them. A bottle whose walls flex or feel stiff, glue that comes out thick and stringy, and a tip that still will not flow after a swap can all come from several causes: the bottle design, the viscosity of a gel formula, a deeper clog, or how long the glue has been open. Treat each of those as an observation to check against that product's instructions, not as proof of where the blockage sits.
The split that matters is between a nozzle you can clear and glue you cannot recover. Loctite's applicator guide frames prevention as keeping air out of the bottle and glue out of the applicator tip, and the steps below are ways of doing one of those two things. None of them brings cured glue back, and they are not a guaranteed two-minute repair for every blockage.
The routine after you dispense
The same applicator guide, written around Loctite's fine-tip and Longneck bottles, ends a session with four steps: tilt the bottle upright and tap the bottom against a table so the remaining drops leave the applicator; squeeze carefully while the bottle stays upright to confirm the applicator is clear; wipe the tip; cap the bottle tightly and store it upright in a cool, dry place.
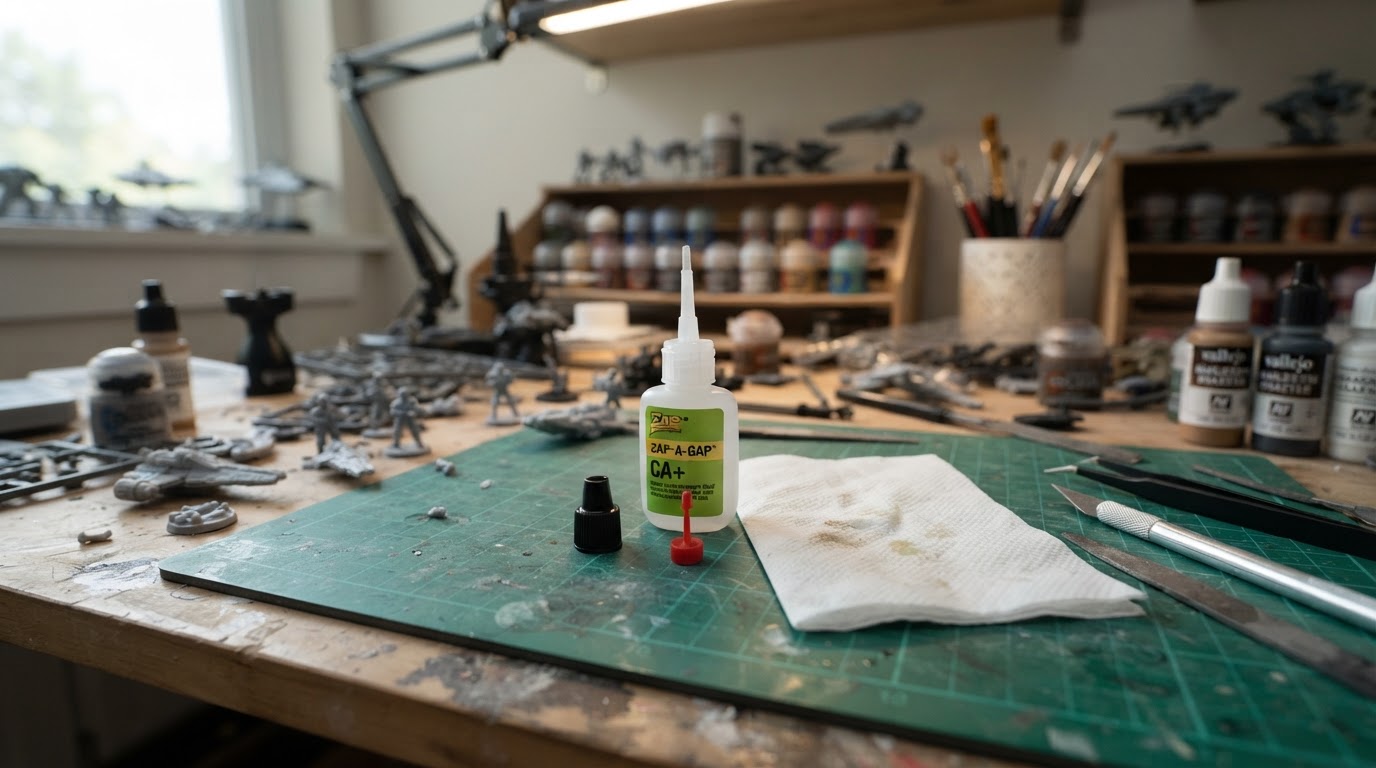
Starbond's stopper instructions describe the same sequence for its nozzle caps: wipe the tip with a paper towel, tap the bottom of the bottle on the workbench to clear the nozzle, then push the needle of its clog-free stopper into the tip.
The order and the materials change with the maker. The shape of the routine transfers better than the details:
- Move the glue out of the tip. Tapping while the bottle stands upright lets the drop that would have cured in the opening drain back instead.
- Check the tip before you close it. Loctite's check is a gentle upright squeeze, just enough to confirm the applicator is clear. Point the tip at scrap card while you do it, not at the model and not at your face. If a light squeeze moves nothing, stop there; more force only pressurizes whatever is blocking the opening.
- Clean the opening the way that maker says. Loctite names a paper towel dipped in acetone for its applicators, and Starbond names a paper towel for its nozzle caps. Use the instruction that comes with your bottle instead of applying one brand's solvent to another brand's nozzle. Acetone attacks paint, resin and many plastics, so it is not a rinse for every tip and not something to introduce around an assembled, painted miniature.
- Seal it and stand it up. Cap tightly, then store the bottle upright rather than loose in a drawer, so glue does not collect in the cap or the threads.
One caution belongs to the wiping step rather than to the nozzle. Cyanoacrylate can release heat when it soaks into an absorbent material, which is why makers warn against cotton and wool. Use the small-quantity cleanup your label describes for a wipe or a spill, and never mop up a larger liquid spill with an absorbent material on the assumption that it is safe.
Capping and standing up solve different problems
A tight cap keeps air and moisture out of the bottle. Standing the bottle upright keeps liquid glue out of the cap. Cap without standing and glue collects in the cap, cures into a ring, and the next twist either cracks free with a snap or refuses to move. Stand without capping and humid air reaches the tip between sessions.
Both matter on a miniatures bench, where a bottle is opened for a few minutes and then put away, sometimes for weeks. Each session is a chance for glue to sit in the tip instead of draining back.
Storage between sessions: dry and sealed
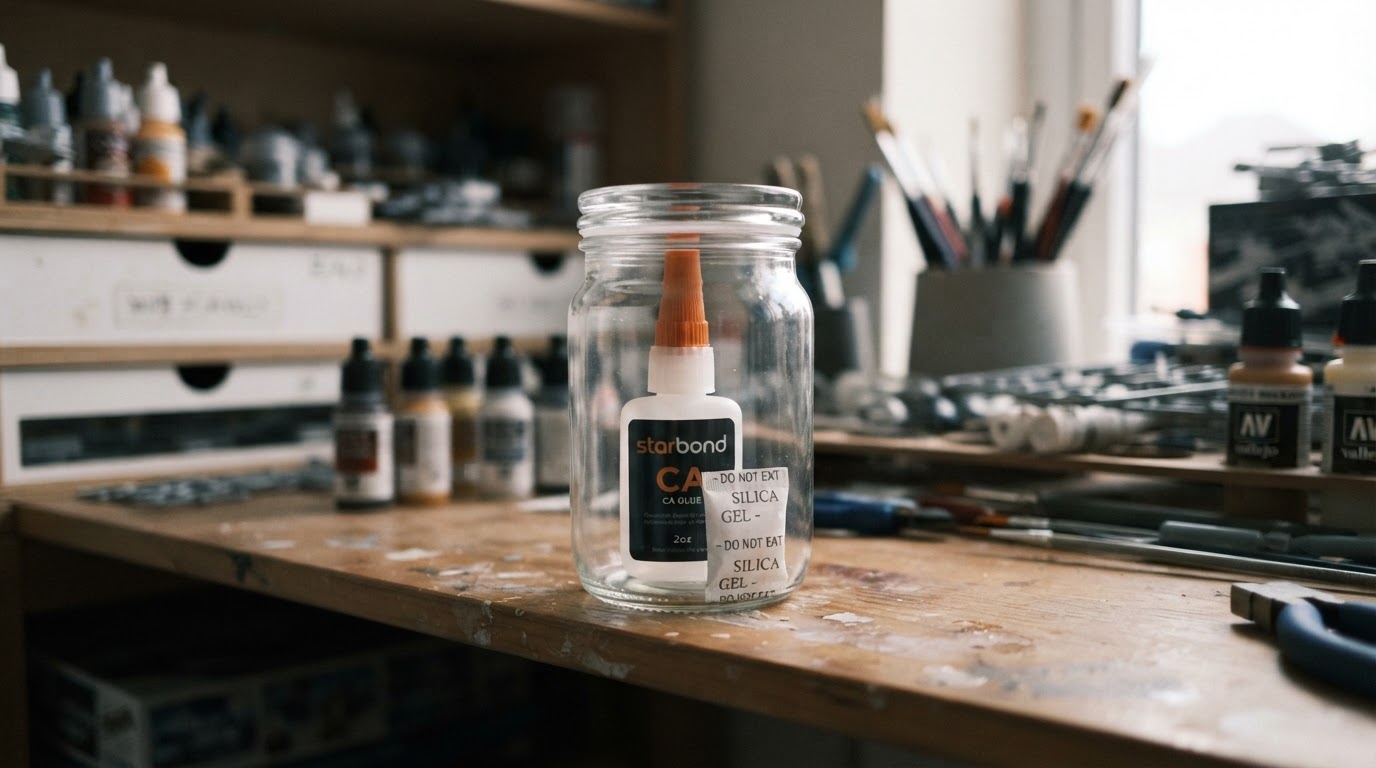
Starbond's storage guide is direct about the chemistry: CA glue reacts with moisture, which can start it hardening. For its glues, it suggests an airtight container such as a jar with a silica gel pack, kept somewhere cool. That is Starbond's advice for Starbond bottles; bottle formats, additives and cap designs differ between makers, so follow the storage direction that comes with the product you own. If a label calls for cold storage, follow that label, including how long the bottle should stand before you open it; there is no universal refrigerator rule to carry across brands.
What does cross brands is the moisture principle. A lidded container and a bottle that stands upright remove two routes that shorten a bottle's useful life: humid air reaching the glue over a slow project, and a bottle that tips into a drawer of tools.
When a supplied pin cap or stopper helps
Loctite's Longneck bottle has a cap that contains a cleaning and sealing pin, which Loctite describes as helping prevent clogs. Starbond's red clog-free stopper works differently: you cut the tip of the nozzle cap, and after each session you wipe the tip, tap the bottle and slot the stopper's thin needle into the opening.
A pin cap is useful when it is the cap made for that nozzle and the pin itself is clean. A cap from another product may not fit or seal; do not force an unverified replacement. A needle that already carries a bead of cured glue pushes that bead back into the tip, so look at the pin before you use it. A stopper covers the opening and keeps the channel clear; it cannot reach glue that has set deeper in the neck or in the bottle. When a pin or stopper is worn, lost or missing, fit the maker's compatible replacement rather than improvising one.
Blocked tip or glue set in the bottle
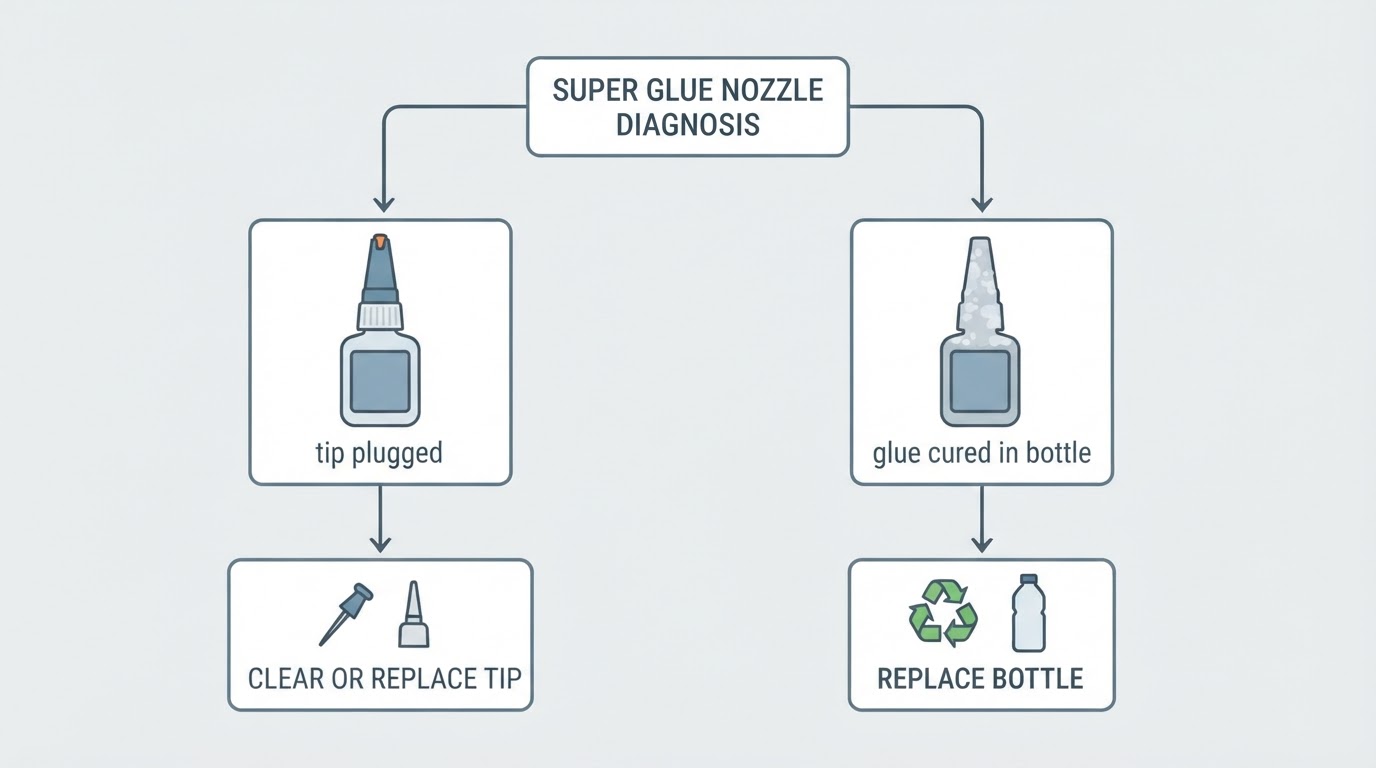
Check which failure you have before you reach for a tool or a replacement, keeping in mind that the outside of a bottle is weak evidence.
What you see | What it can mean | What to do |
|---|---|---|
Tip looks frosted or solid | Cured glue at or near the opening; a plug further in is also possible | Clean or replace the tip as the maker instructs for that applicator |
No flow after a tip change | Glue may have set in the neck, though bottle design and gel viscosity also affect flow | Read the maker's guidance for that bottle before deciding the glue is dead |
Thick, stringy glue and stiff bottle walls | One of several signs that moisture has cured part of the batch; stiffness varies with bottle design | Compare against a fresh bottle of the same product before you discard it |
Cap will not turn | Cured glue in threads is one possibility; damage or a mismatched cap may also obstruct it | Follow the label's cured-residue removal; do not lever a blade into the cap |
Across all of these, the move to avoid is squeezing harder to break a plug loose. A blocked tip turns the bottle into a small pressure vessel aimed at whatever you are holding, and thin CA under pressure does not stop at the plug; it leaves by the weakest seal, at speed. Safety glasses are worth wearing for this hobby anyway, and the moment before a hard squeeze is exactly when they matter.
Never do these at a blocked nozzle
- Add water or solvent to the bottle. Water is what cures cyanoacrylate, and a solvent that softens cured glue does not turn it back into usable glue. It only makes the contents worse.
- Heat or flame the tip. A cured plug is not wax. Heat does not return it to liquid, and heating a small plastic nozzle risks deforming it and releasing fumes you do not want near your face.
- Soak a glued, painted miniature. Solvent strong enough to work on cured CA can also lift paint and attack resin. It is the wrong trade for a miniature that is already assembled.
- Put accelerator near the opening. Accelerator exists to make cyanoacrylate set almost immediately, which is useful on a joint and ruinous in a tip.
- Squeeze harder to force the plug. Pressure does not clear a blockage; it finds the weakest seal in the assembly.
Follow the label for ventilation, skin contact and eye protection, and keep liquid CA away from cotton and wool.
The white haze that sometimes appears on a model rather than in the bottle is a separate problem with its own causes; super glue frosting on miniatures covers how to check whether a white film near a joint is blooming before trying a fix. Clearing a nozzle will not remove it.
When the bottle is past saving
If the maker's instructions for your bottle do not clear it and the glue no longer flows as it should, replace the bottle rather than fight it. Fit the maker's compatible replacement tip or stopper where the design calls for one, store the new bottle cool, dry and upright, and keep the capping routine for the next one.


