What the White Bloom Really Is
A chalky, milky or spotty haze after washing and post-curing is a surface change. Liqcreate's white-residue guidance names one common mechanism: UV-curing a part that still carries liquid resin and cleaning solvent, worst in recesses where wash liquid drains slowly (Liqcreate white residue). Attribute it where it fits — it does not explain every white patch. Contaminated wash liquid, incomplete drying, residue already cured in and material or pigment behaviour can look similar, so treat these as branches to check, not one verdict.
Odor is a separate question: a lingering smell does not by itself prove the part is still wet, and it is not a cure or safety test — see resin miniatures that still smell after curing. A cure-time chart answers how long to expose the print, not how clean it was before UV — see how long to cure resin miniatures.
Check the Timeline Before You Change Anything
Work through these to narrow the branch. More than one can apply, and no single answer proves the cause.
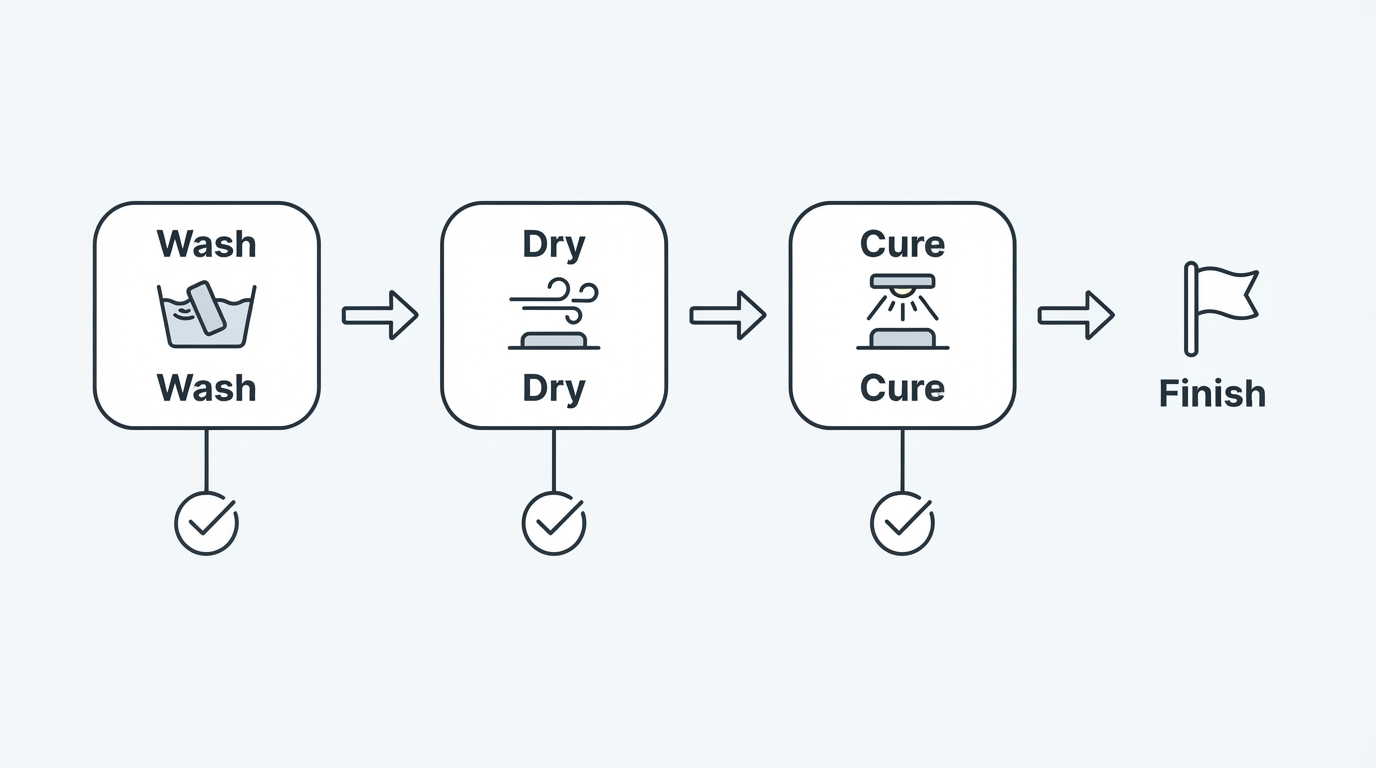
Illustrative diagram, not a photo of a specific print.
- Was the part wet, tacky or glossy going into UV? Liquid cured onto the skin is one candidate.
- Did the surface look dry before curing? Some makers use dry appearance as a checkpoint — Liqcreate documents it for its own resins — but that is material-specific, not universal proof of dryness or cure, and some resins stay glossy. Follow your material's instructions.
- Is the wash liquid cloudy or overdue for a change? Dirty liquid leaves a film agitation will not remove.
- Which material are you running? Water-washable and solvent-washed resins define clean and dry differently.
- Does a careful wipe with fresh, material-compatible solvent remove the haze? Residue that wipes away is loose; haze that stays is probably cured in.
Quick Residue Decision Table
What you see | Possible cause to check | First action |
|---|---|---|
Bloom in recesses; damp before UV | Liquid cured while the part was wet | Follow the maker's wash and dry steps, then re-cure on the material's schedule |
Uniform chalky film | Wet part or contaminated wash | Fresh wash liquid, second clean bath, full dry |
White patches plus sticky areas | Incomplete wash | Repeat the wash in fresh liquid |
Haze survives a careful re-wash | Residue cured into the surface | Stop adding UV; treat it as a finishing decision |
Wash and Dry the Way the Resin Maker Says
No universal cleaner, soak time or drying clock covers every resin. Liqcreate's white-residue article gives its own examples — roughly four to five minutes in Liqcreate Resin Cleaner, IPA or bio-ethanol with agitation, and a warning that green parts can crack after much longer exposure (Liqcreate white residue). Those are manufacturer-specific examples, not numbers to mix into another resin's protocol. Never put flammable IPA or ethanol directly in an ultrasonic bath, and do not extend a soak or heat solvent.
Liqcreate's cleaner guide splits washing into a dirty first bath and a fresh second, then a water rinse and a completely dry surface before post-curing (Liqcreate cleaning guide). Formlabs sets Form Wash time per resin and advises against water in that machine because of corrosion in the washer itself (Formlabs Form Wash) — a restriction about that equipment, not a claim that every water-washable resin or rinse method is wrong; its wash liquids and protocol are model-specific.
IPA is flammable: keep it away from ignition sources, wear gloves and eye protection, and work where vapour can escape.
Drying: The Step Many Blooms Trace Back To
Before UV, the part should be dry the way its own instructions define dry, with nothing weeping from hollows. Formlabs says to let prints dry completely before post-curing, with ventilation for volatile solvents such as IPA; TPM needs a drip-dry and a rinse (Formlabs Form Wash). Liqcreate's guide gives its own ventilated drying step and warns about liquid left in holes and recesses (Liqcreate cleaning guide).
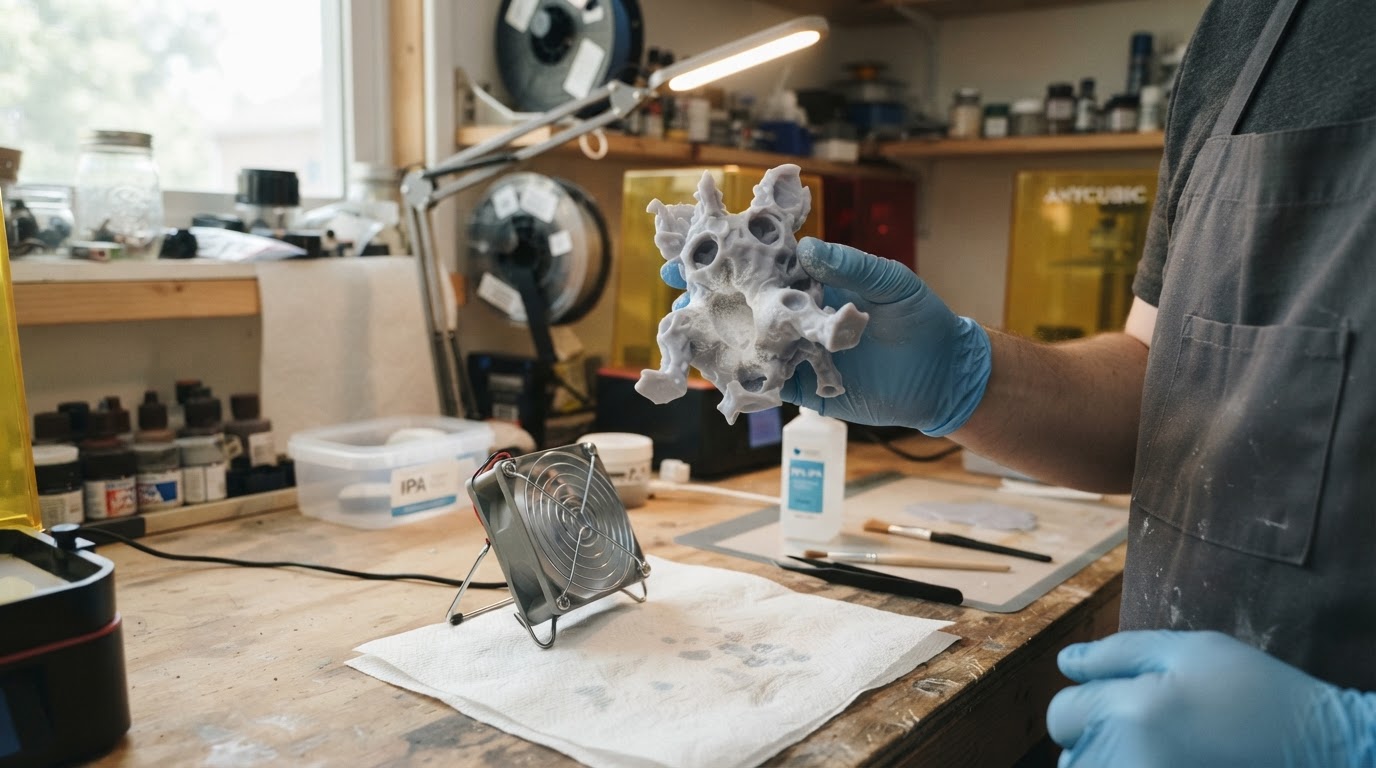
Illustrative diagram, not a photo of a specific print.
Check hollows the maker-safe way: drain them over the wash container and dry in ventilation with gloves and eye protection. Do not blast suspect uncured material out with compressed air — it can aerosolize resin you should not breathe. A visible droplet means drying is unfinished.
A dry, dull surface is a material-specific checkpoint, not proof of complete drying or cure — some resins are glossy — so follow your resin's instructions and treat full cure as a separate step.
When the Haze Is Cured In
Some white patches will not wash away because they are part of the cured surface, and more UV cannot clean them — it only cures more material. Further solvent exposure or finishing must be material-compatible and maker-directed, and there is no guaranteed rescue: haze cured into the surface may not come off at all. If it survives a clean wash and full dry, treat it as a finishing decision, not a cleaning one.
Safety Before You Touch Another Print
Stop treating a suspect or tacky print as finished. Work in ventilation, wear gloves and eye protection, and keep uncured resin, IPA and contaminated wash liquid away from skin and ignition sources. Do not dry-sand uncured resin — that turns a wet chemical problem into airborne dust — and never pour resin-contaminated cleaner or solvent down a household drain (Liqcreate cleaning guide).
Bottom Line
White residue after washing and post-curing is usually a wash-and-dry sequence problem, but the timeline decides which branch you are in. Wash thoroughly, replace dirty liquid, dry fully the way its maker defines dry, then cure on the resin's own schedule. If bloom persists, the haze is probably cured in: the next decision is finishing, not more UV.


