What Sprue Goo Is, and What It Is Not
Sprue goo is a hobbyist filler made by letting pieces of compatible plastic sprue soften in a solvent plastic cement until the mixture can be brushed into a gap. Because the solid portion belongs to the same plastic family as a polystyrene model, the fill can become part of the joint instead of sitting on top of it. This guide supplies no universal ratio: mixture thickness depends on the solvent, the plastic, and how much sprue has gone in, so a number copied from another workshop is not a standard.
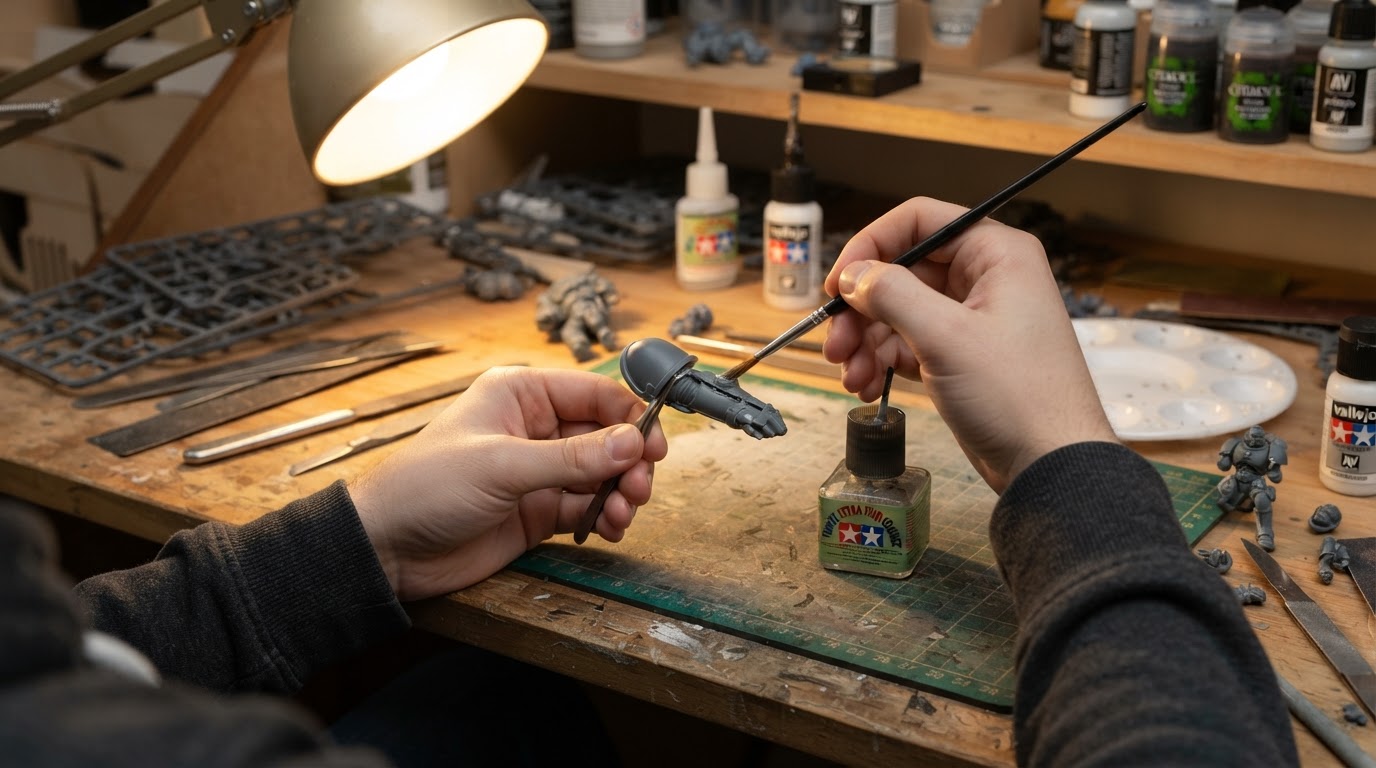
The name causes most of the confusion. A thin cement softens two mating faces so they weld; sprue goo adds material where plastic is missing or a seam shows. That material brings its own problems: flow, trapped air, settling, and sanding. Treat it as a gap filler with a narrow job. For how a solvent cement differs from cyanoacrylate on miniatures, our plastic glue vs super glue comparison explains where each belongs.
Material questions outrank any recipe. Tamiya's page for Extra Thin Cement (Low Odor), item 87236, says the product is for styrene and ABS plastic parts and that it flows into small gaps and crevasses when applied with the brush in the cap (Tamiya). Treat that as a specification for that exact product, not as approval of homemade sprue-goo mixtures or of every solvent, and not as automatic support for ABS in your build. The scope here is identified compatible polystyrene and the limits printed for the product you are using.
Inspect the Seam Before You Mix
Start at the joint, not the bottle.
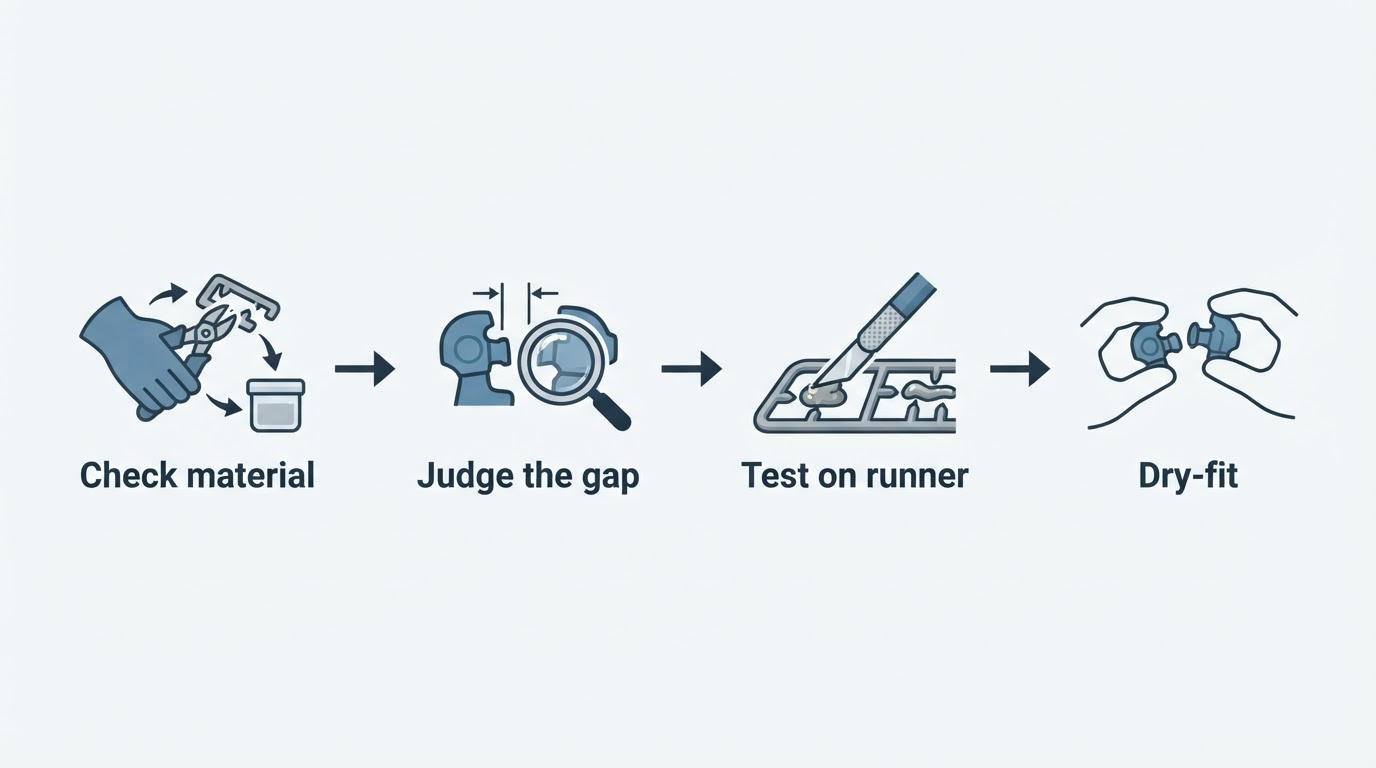
- Confirm the material. Check the part, the kit instructions, or the label. Identified compatible polystyrene is the case this guide covers; ABS needs its own confirmation rather than an assumption. Cast resin, metal, and unknown third-party parts fall outside it.
- Judge the gap. A shallow seam between two mating plastic faces is friendly. A wide trench, a broken edge, or a joint that flexes is not.
- Test on the runner. Apply a little to scrap sprue from the same kit. Watch how it flows, whether it strings, and how it settles.
- Dry-fit and mark first. Check alignment before filler goes on; sanding a filled seam back into shape is harder than fixing the fit.
When Putty or Another Repair Is Safer
Putty and two-part epoxy fillers earn their place when the material or the load makes a solvent filler the wrong tool. The table is a starting point, not a promise about any specific product.
Your situation | Better first move | Why the solvent fill is weaker here |
|---|---|---|
Cast resin miniature | Manufacturer-approved filler or epoxy putty | A cement labeled for styrene and ABS has no claim on resin |
Metal or mixed-media joint | Pinning, CA, or epoxy, plus putty | Nothing compatible for the solvent to soften |
Wide or deep gap | Two-part epoxy putty in thin layers | A runny fill can sag or trap air |
Fine surface detail | Epoxy putty shaped before it hardens | Sanding a hard fill can erase nearby detail |
Load-bearing joint | Mechanical support first, filler second | Do not assume a filler patch is a load-bearing repair |
Unknown or repainted plastic | Identify the material, then use a filler explicitly approved for it | A general-purpose filler carries no approval for an unidentified material |
Within putties, rigid epoxy types sand cleanly and flexible two-part types hold fine shapes. If you are choosing between the two common hobby putties, our Milliput vs Green Stuff comparison covers how to pick between them by the shape and finish you need.
Shrinkage, Bubbles, and the Re-Check Before Sanding
A FineScale Modeler forum thread shows the failure modes: one modeler reports the mixture turning stringy during application and bubble holes appearing in the middle after sanding, while other posters suggest the solvent evaporated and that more liquid cement might help (FineScale Modeler Forum). Those are individual workshop reports and attributed suggestions, not a demonstrated fix, not a controlled cure test, and not something we tried.
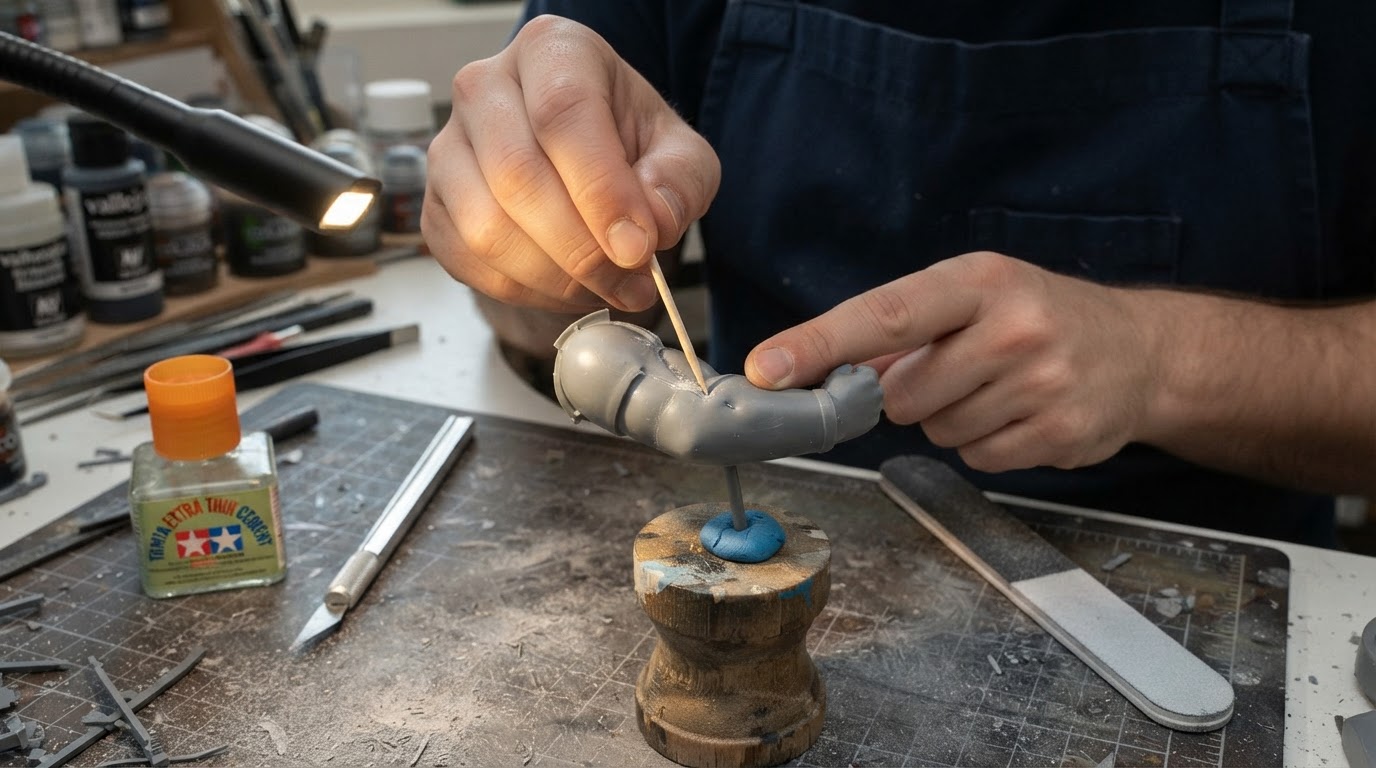
Shrinkage or settling can show up, so plan a second look before sanding rather than assuming one pass filled the seam. Apply thin passes instead of one heavy blob, and follow the label's handling and cure guidance before you sand, press, or flex the joint. If a low spot or pinhole shows after the fill has cured as the label describes, a second thin application is the conditional step; it is not routine maintenance every seam needs. Do not swap the label's cure guidance for a guessed drying time, because mixture thickness and room conditions both affect how long the fill takes.
Safety Comes From the Label, Not the Recipe
Solvent cements deserve respect. Follow the label for ventilation, eye and skin protection, handling, storage, and cure, and keep the container closed between uses. Dispose of waste through local household hazardous waste rules rather than down a drain. Do not heat the mixture, and do not work with it in an enclosed space where vapor can collect. This guide deliberately gives no solvent substitution, mixing, or heating recipe; if the label and an internet recipe disagree, follow the label.
A Short Answer for Your Next Seam
For a visible seam between two identified compatible polystyrene parts on a kit you can test first, sprue goo is a reasonable, cheap option, provided you apply it thin, expect it to settle, and re-check before sanding. A solvent-welded joint can hold well where the parts mate properly, but do not assume a filler patch is a load-bearing repair. For cast resin, metal, mixed-media, badly gapped, or load-bearing joins, use a filler explicitly approved for that material, or putty plus mechanical reinforcement. The filler does one job well; most bad repairs come from asking it to do another.


