Most Rough Paint Jobs Are Fixable in Place
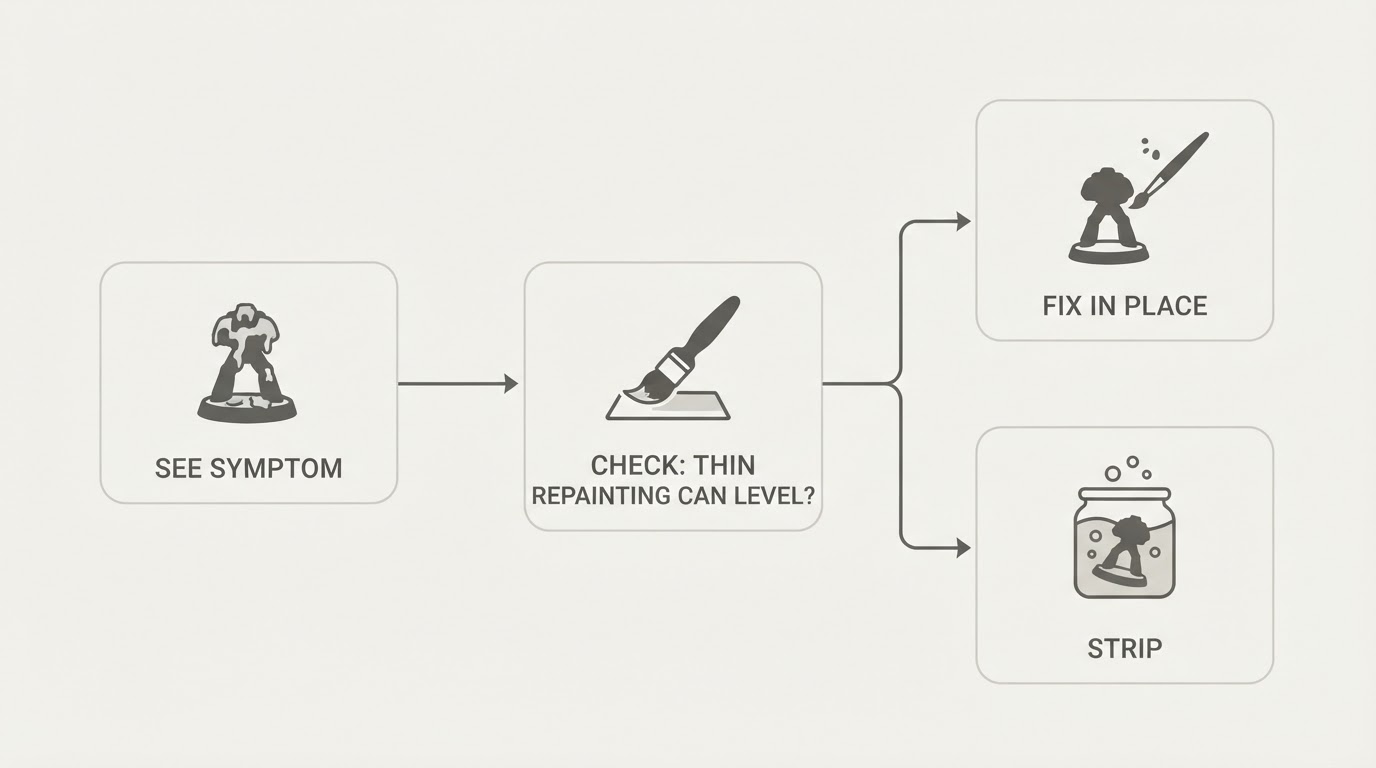
The answer depends on what "bad" means. If the problem sits on the surface — flat-looking colour, patchy coverage, a chalky highlight, a wash in the wrong places — you can correct it without removing a single layer. If the problem is depth — recesses filled in, fine lines rounded off, paint visibly thicker along the edges — extra paint cannot bring that detail back, and a controlled strip is the honest option. The five faults below are the most common examples of a bad Warhammer paint job, ordered from easiest to hardest to rescue.
Diagnose the Fault First
Work out which fault you have before you touch the model. Repainting the wrong one usually adds another layer to a surface that is already struggling.
What you see | Usual cause | Fix in place | Strip instead when |
|---|---|---|---|
Soft, buried detail | Paint applied too thickly or too many opaque coats | Stop adding paint; assess whether the underlying detail is still visible | Recesses and fine lines are rounded off |
Ragged colour boundaries | A loaded brush slipping, or no clean-up between colours | Re-cut the boundary with thin layers of each colour; wipe slips with a clean, barely damp brush | Paint has built a visible ridge along the edge |
Chalky, dusty highlights | Too much paint in the drybrush, pressing hard, or drybrushing a flat panel | Glaze the area back to its mid-tone, then rebuild the highlight with an almost-dry brush | The chalky layer is thick and gritty |
Muddy, stained panels | Wash pooling on flat areas, or repeat washes over dried ones | Wick wet pools with a clean damp brush; once dry, rebuild the base tone in thin layers | The surface has darkened and thickened after several washes |
Patchy, uneven colour | One thick coat, or thin coats that never built up | Two or three thin coats, fully dry between each | Patchiness sits on a rough or dusty primed surface |
Fix 1: Paint That Has Softened Detail
Stop adding paint. Every additional coat can bury more of the sculpted detail. If the detail is still visible and the problem is mainly uneven colour, a restrained thin glaze may blend the colour; it cannot reopen filled recesses. Let the area dry completely before judging it.
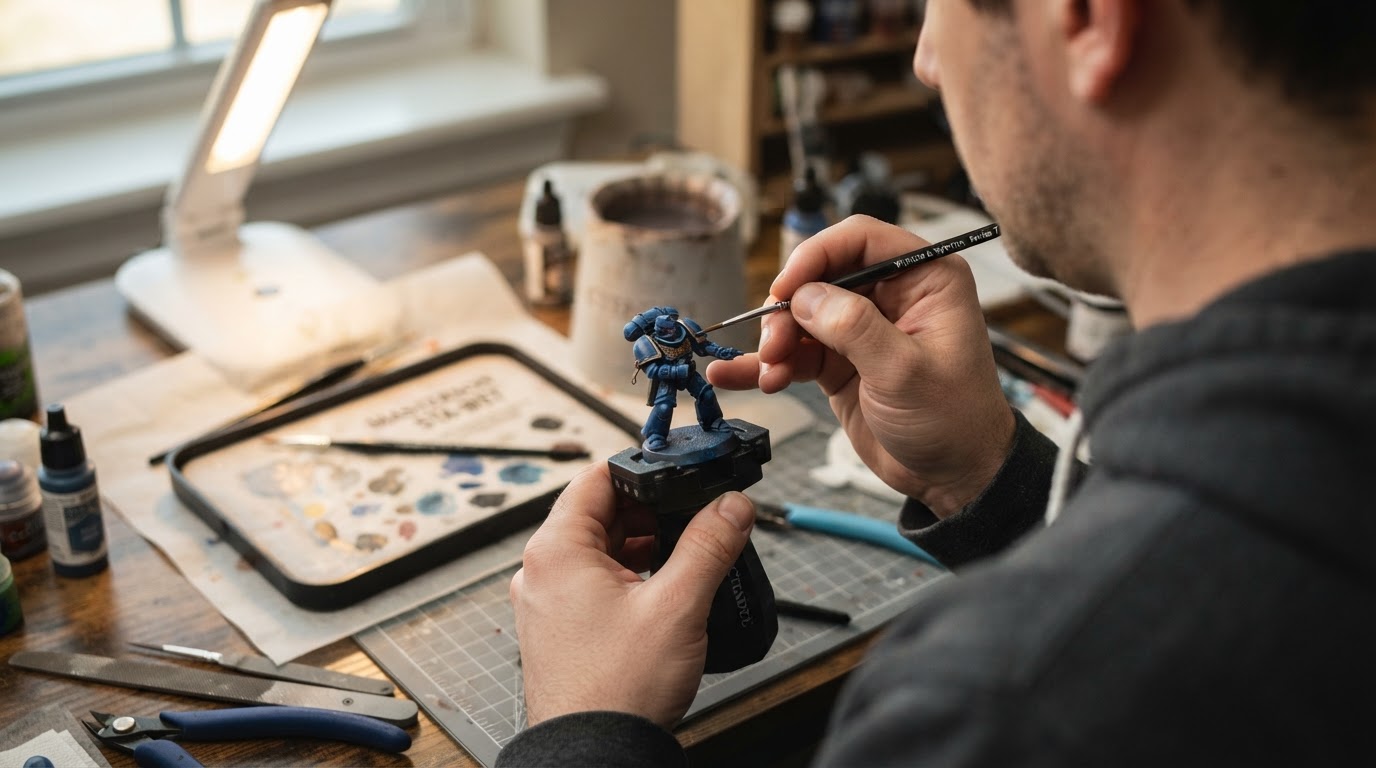
Then test: hold the model at arm's length under a lamp. If you can still read the lines you care about, a colour correction may be enough. If the recesses have closed over, no glaze will reopen them.
Fix 2: Messy Colour Boundaries
Slips are easiest to fix while the paint is wet: keep a clean, damp brush beside you and draw the mistake toward the colour it belongs to, not across the boundary. Once it is dry, re-cut the line with thin layers of the neighbouring colour, working up to the edge with the side of the brush tip. Two patient layers look cleaner than one thick correction. A thin glaze of the lighter colour softens a built-up step; if the step still catches raking light, that section has moved into strip territory.
Fix 3: Chalky Drybrush
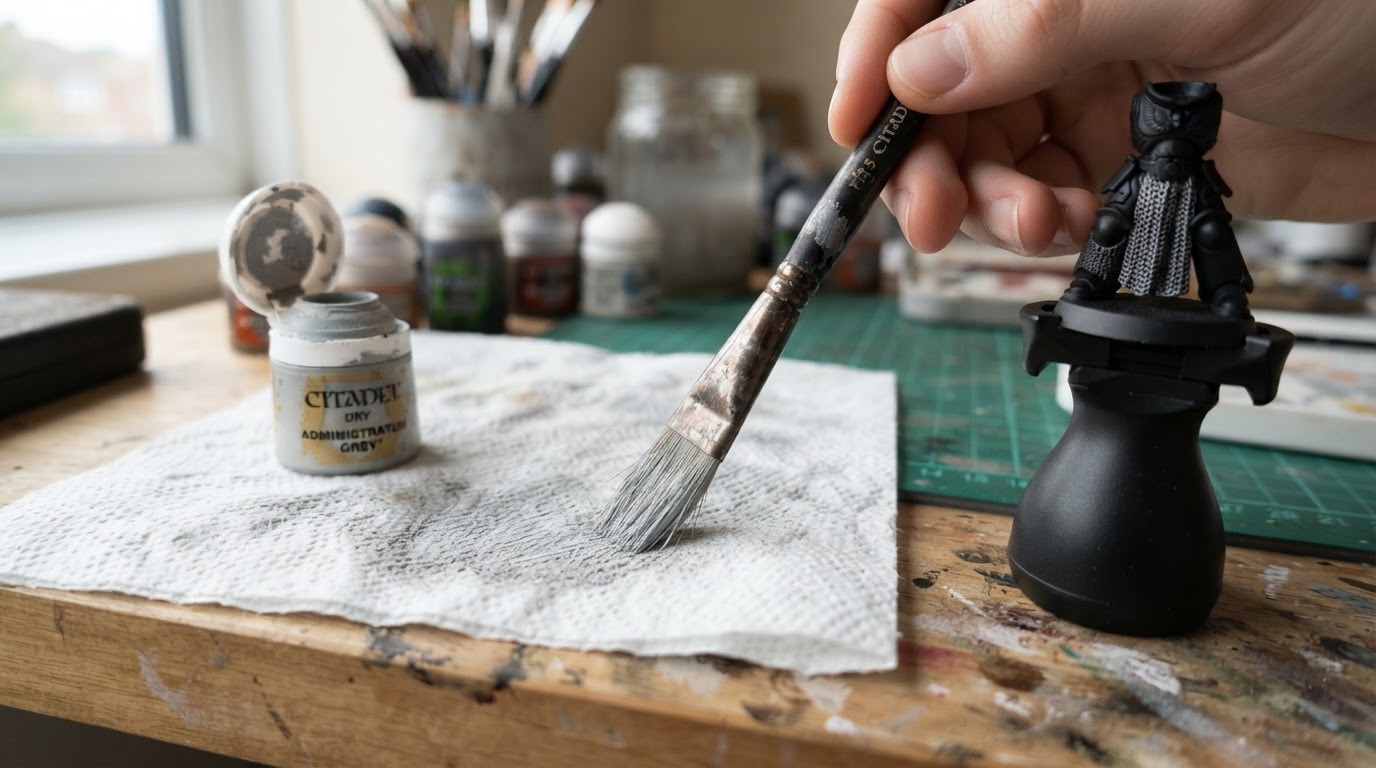
Chalkiness comes from too much paint, too much pressure, or a drybrush dragged across a flat area it was never meant for. Glaze the affected area back toward its mid-tone so the dusty pigment blends in, then rebuild the highlight. Load the brush, wipe it almost dry on a paper towel, and touch only the raised texture — chainmail, fur, stone, rivets — with a light, flicking motion. Flat panels are better highlighted with layered thin paint; drybrushing rewards texture.
Fix 4: Muddy or Pooled Wash
Catch pools while the wash is still wet: a clean, just-damp brush touches the pool and draws the liquid toward a recess where it belongs. Waiting until it dries turns a pool into a dark stain with a hard edge. Once dry, rebuild the flat area with thin layers of the original colour, then re-establish one highlight. Do not add a second wash to "even out" the first — that is how a panel goes from shaded to muddy.
Fix 5: Uneven Coverage
Patchy coverage is usually a thickness problem in both directions: one coat too thick, or several coats so thin they never built up. Aim for a milk-like consistency and apply two or three coats, each fully dry before the next. The first is allowed to look translucent; the second is where colour normally locks in. Touch in remaining patches with another thin layer rather than flooding the area. Visible brush ridges mean too thick; visible undercoat means too thin or not fully dry.
When to Stop Fixing and Strip Instead
Stripping is right when the model has stopped being a paint problem and become a depth problem. The signals: fine detail such as rivets, faces or lettering has filled in or rounded off; the surface looks visibly thick along the edges at arm's length; the paint has cracked or flaked; or each repair has added a layer without solving the original fault. At that point, stop repainting. The material — plastic, resin or metal — decides what it can safely be soaked in, so use a removal method built around that check instead of the strongest solvent on the shelf. See the separate material-safe guide to stripping paint from Warhammer models for that procedure.
A Simple Finish Line
Check four things before you call a rescue finished:
- Under raking light, no new hard ridges catch the light.
- The detail lines you started with are still visible at arm's length.
- The colour reads evenly from roughly 30 cm away.
- You can stop adding paint without the surface looking unfinished.
The limitations are real. Corrections over thick paint add layers, which is the opposite of what the sculpt needs. Detail already lost cannot be painted back. A rescued model rarely looks like a fresh paint job, and repeated repairs can push it toward stripping. Plan around those trade-offs rather than fighting them.
Three Common Questions
Can a bad Warhammer paint job be fixed without stripping?
If the fault is colour, coverage, chalkiness or a pooled wash, yes — thin corrective layers handle it. If paint has filled the sculpted recesses, no: adding paint cannot restore depth that is no longer there.
Does adding more paint make a bad paint job worse?
It can. Each opaque layer reduces how sharply detail reads, and a surface that already carries several coats loses more. Use glazes and thin layers, and stop once the surface is level.
How do I know stripping is the better option?
When the model fails the arm's-length test — filled recesses, soft detail, thick edges — or when the paint has cracked, flaked, or been repaired so often that the surface is mostly paint rather than sculpt.
If you want an official starting point for the next model, Games Workshop's Warhammer Colour hub collects its painting guidance and points beginners to a Getting Started page.


