What a miniature painting kit has to do
Starter kits are usually sold by part count — forty paints, ten brushes, a case — but a first paint setup only works when it covers five specific jobs: cleaning and preparation, priming, base coating, detail work, and protection. A set that skips one of them is not incomplete on paper; it is incomplete at the workbench, and the missing piece is usually cheaper inside a kit than bought on its own later.
Keeping those five jobs in mind is the fastest way to compare two boxes that look identical in a product photo. The job list also tells you what you can safely postpone: basing materials, display plinths, and a second lamp are upgrades, not requirements.
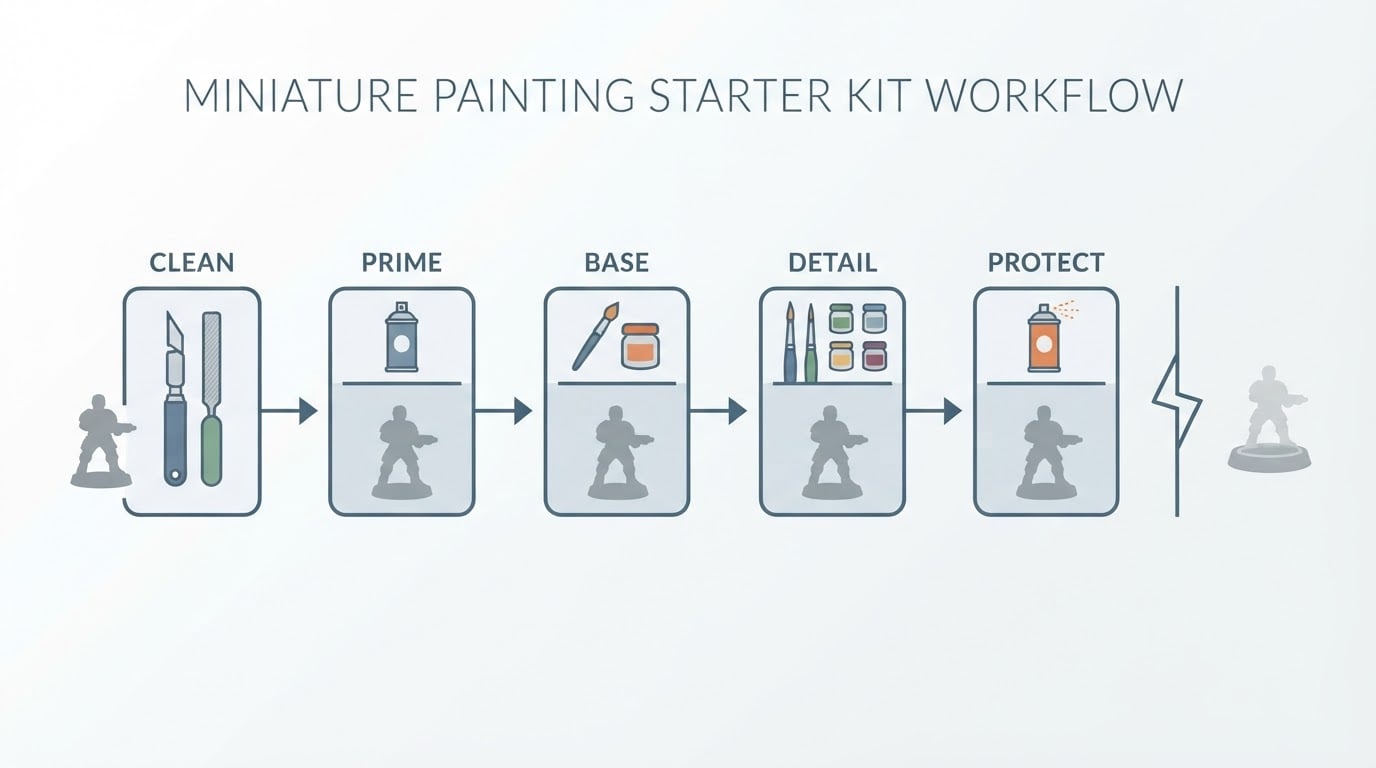
Here is what each job needs, in the order you will use it.
- Clean. Flush cutters, a hobby knife, and a fine file or sanding stick to remove parts from the sprue, trim gates, and erase mold lines.
- Prime. A primer that bonds to plastic, resin, or metal and gives the paint something to grip. It can be a spray can, an airbrush primer, or a brush-on primer.
- Base. Opaque acrylic colors in the mid-tones of your chosen scheme — the colors that cover the largest areas.
- Detail. One or two smaller brushes, a wash or shade, and a lighter tone for highlights.
- Protect. A varnish, matte or satin, so handling does not rub the paint off.
What a starter paint setup should include
A usable starter paint setup is a short list. Everything else is optional.
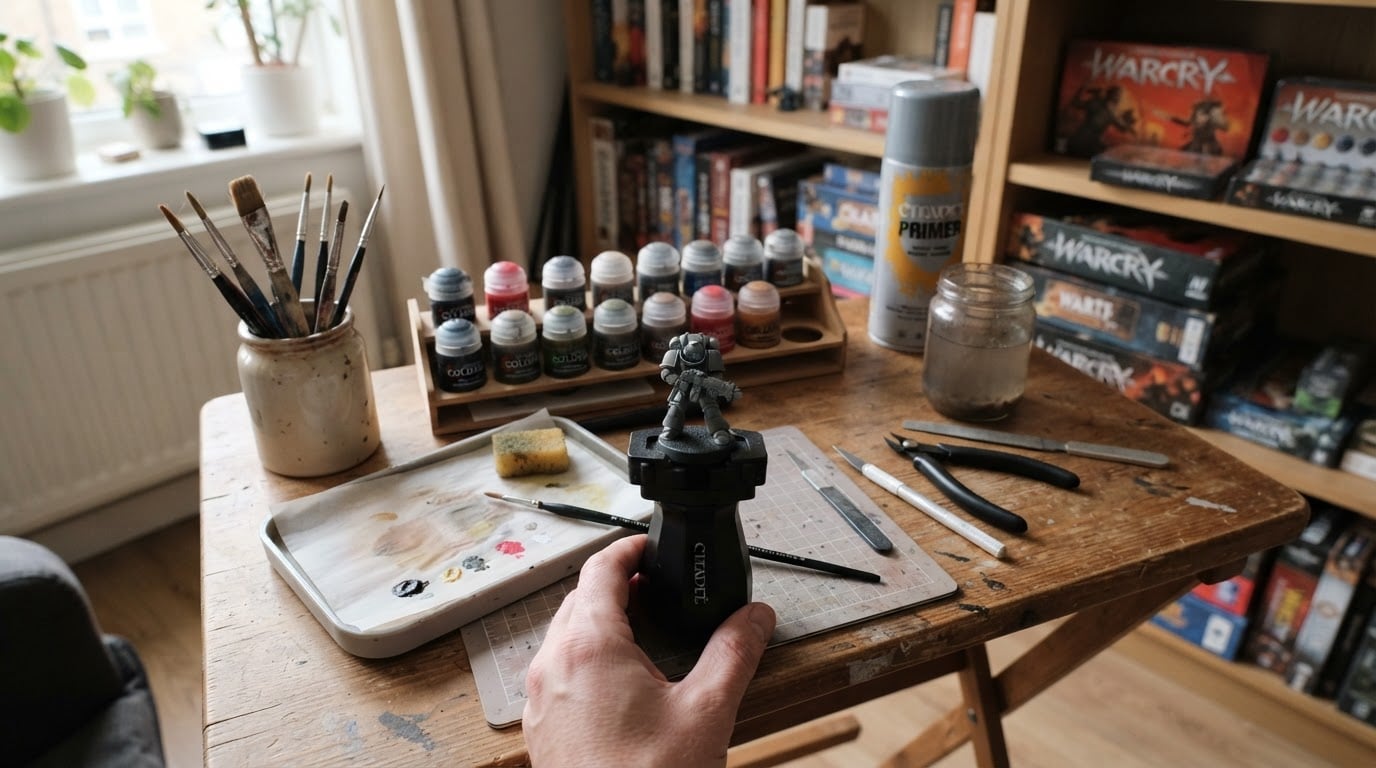
- Flush cutters or hobby clippers. They cut parts from the sprue without twisting the plastic.
- A hobby knife plus fine files or sanding sticks. These handle mold lines, gates, and the small nub your cutters leave behind.
- Brushes in two sizes. A size 0 or 1 for general coverage and a small detail brush. Brush sizes vary between manufacturers, so read the listed size rather than trusting the number printed on the handle.
- Acrylic paints. Water-based acrylics are the beginner default: they thin with water, clean up with water, and dry quickly. A mid-tone set of eight to twelve colors covers most first projects.
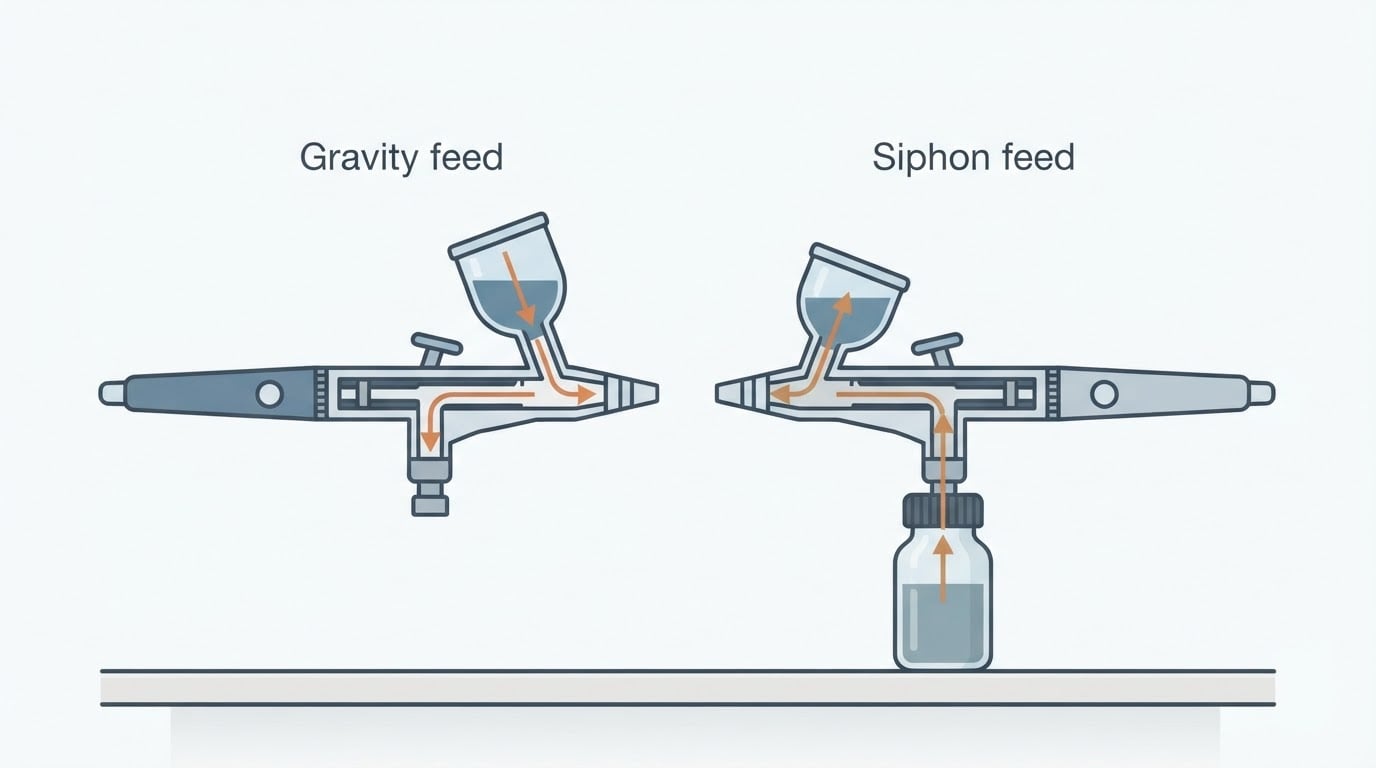
- Primer. Either a rattle can, a brush-on primer, or an airbrush primer. If you cannot spray where you live, brush-on primer keeps the work indoors.
- A palette. A flat palette works; a wet palette keeps paint usable for a whole session instead of letting it dry out in minutes.
- A water pot and paper towels. Rinse between colors and dry the brush before loading it again.
- Varnish. Matte or satin for a natural finish, gloss if you want a wet or glassy look.
- Storage. A box or tray that keeps pots upright and brushes protected. Storage matters more on a small desk than in a dedicated room.
Optional additions worth knowing about: a miniature holder or a cork with putty, a dedicated hobby lamp, and basing materials such as texture paste, sand, or tufts.
How to judge kit completeness and value
Value in a kit is coverage, not count. Work through these five checks before you compare prices:
- Does it cover all five jobs? If primer, tools, or varnish are missing, price those separately before deciding the kit is a bargain.
- What is the paint volume per pot? A kit with more pots but smaller volumes can hold less paint than a smaller set with full-size pots. Check the milliliters, not the pot count.
- What paint format are the pots? Dropper bottles let you place controlled drops on a palette and store easily; flip-top pots need a brush or a tool to transfer paint. Either works, but the format decides how easily you mix and how much you waste.
- Are the brushes sized for miniatures? Large brushes are fine for terrain and poor for eyes, belts, and straps.
- Can you replace what you use up? Confirm that individual paints, brushes, and primer are sold separately, because you will finish one color long before the rest.
What the box says | What it actually means |
|---|---|
40 paints | Check the volume per pot and how many of those colors you will realistically use. |
Includes brushes | Check sizes and hair type; a brush too big for faces is not a painting brush. |
Tools included | Confirm which tools: cutters, knife, files, and glue are different jobs. |
Complete painting set | Look for primer and varnish, the two items most often excluded. |
Everything you need to start | Check for clippers and cleanup supplies; the model has to come off the sprue first. |
Best for your situation → what to look for
Use these shortcuts to match a kit to the project you actually have.
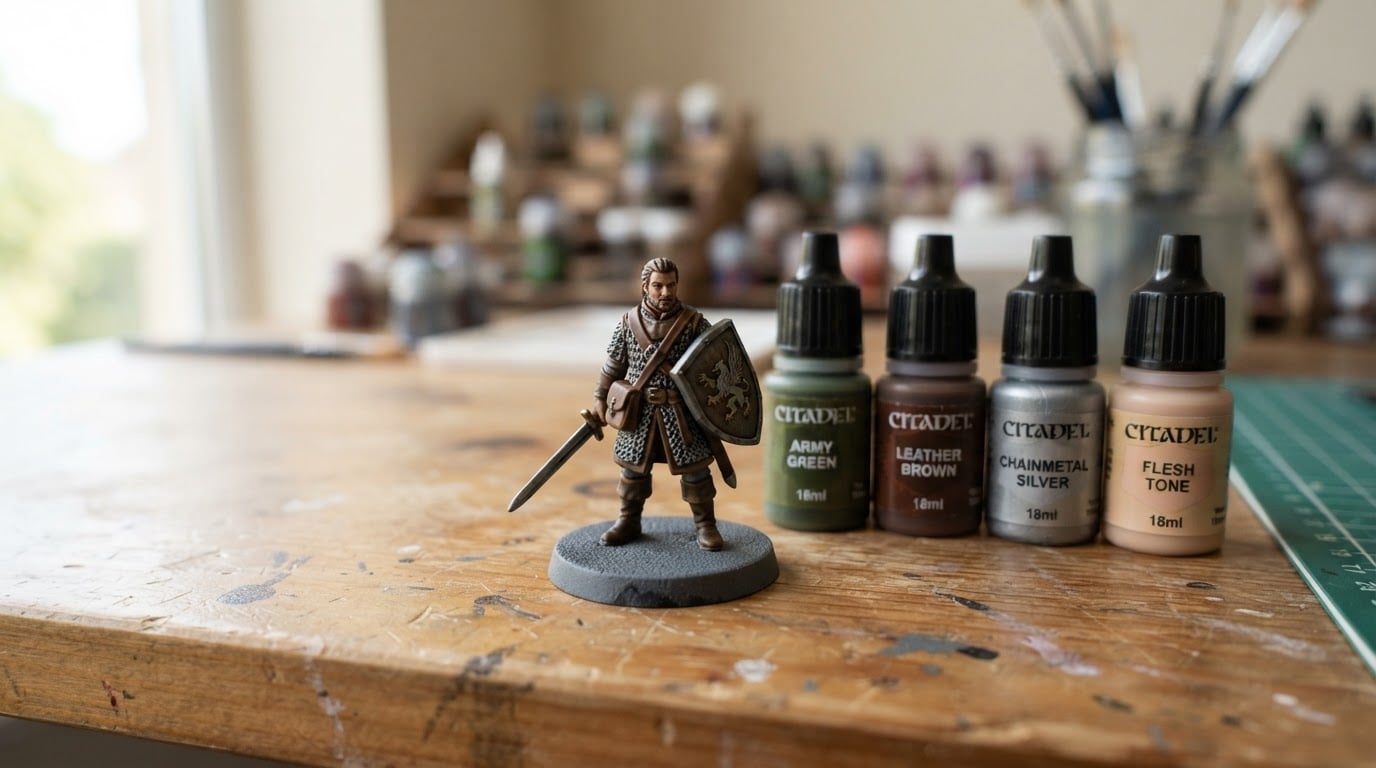
- Best for your first single miniature: a compact kit that includes primer, a shade, a varnish, and one or two brushes. You do not need a wide color range to finish one figure.
- Best for an apartment workbench: brush-on or airbrush primer, a wet palette, and paint storage that stacks flat. Spray primer needs ventilation, so keep it for a balcony or an outdoor session.
- Best for a resin 3D print: a kit with cleanup tools included, because a print needs washing and curing before paint. Flush cutters, files, and a primer that grips resin matter more than extra colors.
- Best for painting a squad or a whole party: larger paint volumes, a paint line you can restock consistently, and a shade that speeds up recesses across many figures.
- Best for a younger or shared painter: water-based acrylics with clear non-toxic labeling, a smaller color set, and fewer sharp tools in the box.
What to verify before you buy
Four specifications decide whether a kit holds its value after the first project:
- Paint volume per pot. Printed on the box or the product page, usually in milliliters. Compare total paint volume, not pot count.
- Brush sizes. Look for explicit size numbers and hair type. If sizes are listed only as "small, medium, large," expect to buy a proper detail brush separately.
- Primer and tools included or excluded. The phrase "paints only" is common, and it changes the real cost of the kit.
- Replacement availability. Check that single pots, primer, and brushes are sold on their own. Restocking is cheaper than replacing the whole set.
Two more checks that take a minute each: confirm the paint is water-based acrylic, which is easier for a beginner to clean up, and confirm the pots fit whatever case or rack you plan to use, because pot shapes and diameters are not universal.
Honest pros and cons of starter kits
Pros. You buy the workflow in one order instead of six. The colors are chosen to work together, the storage is sized for the contents, and the price per item is usually lower than buying singles. Most importantly, a kit gives you a fixed starting point, which is the hard part of a first project.
Cons. Cheap kits hide fillers: a brush that sheds, colors you never open, and pots so small that you run out mid-project. Primer and varnish are the most common exclusions. Replacement availability is often unstated, so the kit looks cheaper until one color runs out. A set that covers every job at the lowest possible quality can also teach bad habits, especially when the brushes lose their point.
The trade-off worth accepting. A starter kit is a start, not a finish line. Expect to outgrow the brushes first, then the paints. If you keep painting, that is not waste — it means the kit did its job.
Common mistakes. Buying by part count. Skipping primer and painting straight onto bare plastic or resin. Forgetting varnish and watching paint wear off at the edges. Loading a brush straight from the pot and letting paint dry in the ferrule. Buying a large set before finishing one miniature to learn what you actually reach for.
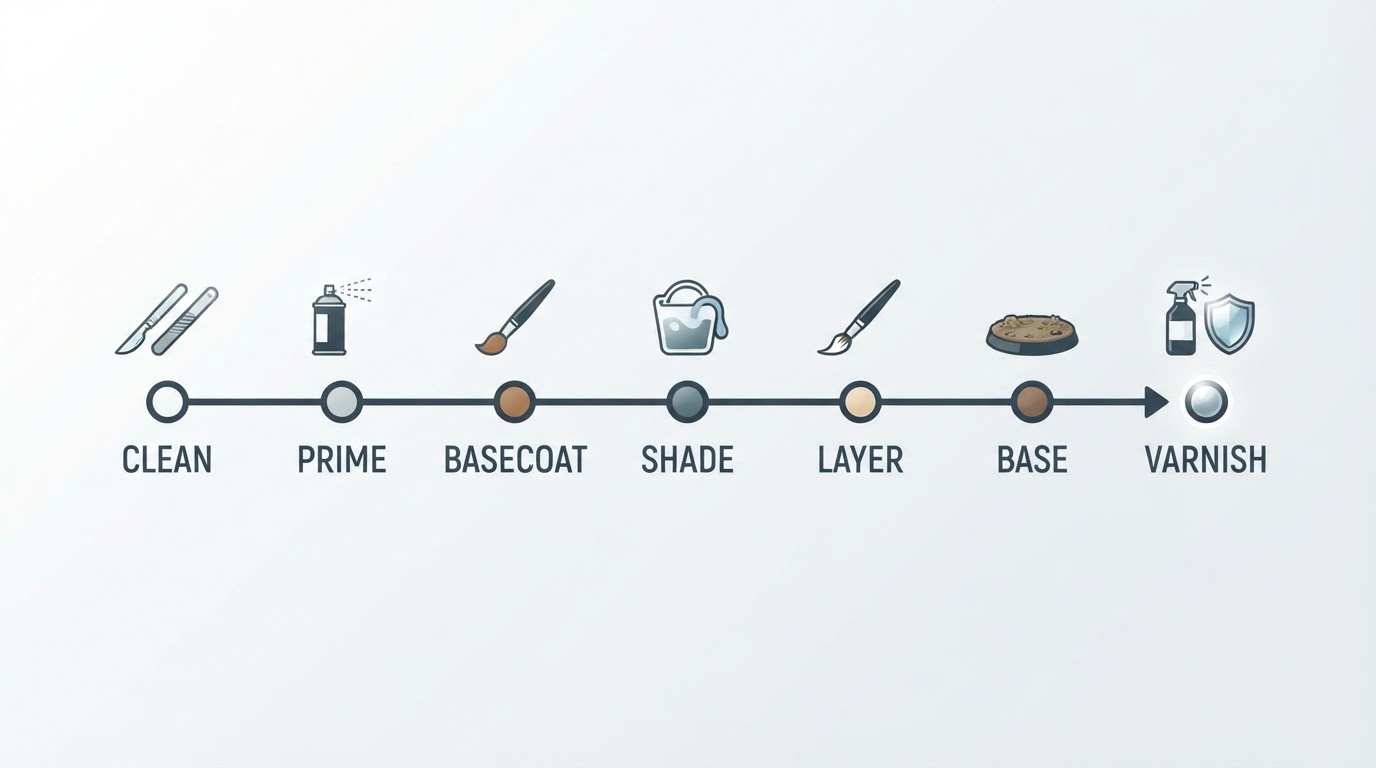
Your first miniature, cleanup to varnish
This is the full path a kit is supposed to support. Treat each step as a checkpoint rather than a race.
- Clip the parts from the sprue. Use flush cutters and leave a small nub instead of cutting flush against the part.
- Trim the nub and remove mold lines. A knife edge or a fine file takes the leftovers down; check the seam with a fingernail.
- Wash and dry the parts. This removes mold release and handling oils. Dry them completely before priming, and give resin prints their wash-and-cure steps first.
- Prime in thin passes. Two light passes from different angles beat one heavy coat. Stop while the detail is still visible and let the primer cure fully.
- Base coat the largest areas. Work from big surfaces to small ones and keep the paint thin enough that it does not fill detail.
- Paint the details. Straps, belts, faces, and eyes come after the main body. Rinse the brush between colors.
- Shade the recesses. A wash flows into the crevices and creates depth with almost no brush control required.
- Highlight the raised areas. A slightly lighter tone on edges and peaks makes the shape readable.
- Varnish and check. A thin coat protects the paint. When it is dry, handle the miniature and confirm that nothing rubs off and the figure reads clearly from arm's length.
Keep the first miniature simple. One scheme, three or four colors, and a completed figure teach more than a shelf of half-painted models.
The bottom line
A miniature painting kit is worth buying when it covers all five jobs — clean, prime, base, detail, protect — and when the volume per pot, the brush sizes, and the replacement path all hold up. Judge the workflow, not the part count, and buy the smallest set that finishes a miniature. You can always add colors once you know which ones you reach for.