Start With Scope: Tabletop Minis, Not Tiny Canvases
Search results for miniature painting ideas mix two different hobbies. One is fine-art miniature painting: landscapes, florals, and portraits rendered at postage-stamp scale on easels, coins, or canvas board. The other — and the one this guide covers — is models you assemble, prime, paint, and then actually put on a table or a shelf: Warhammer-style warbands, D&D figures, and resin prints that came off a 3D printer and now need color.
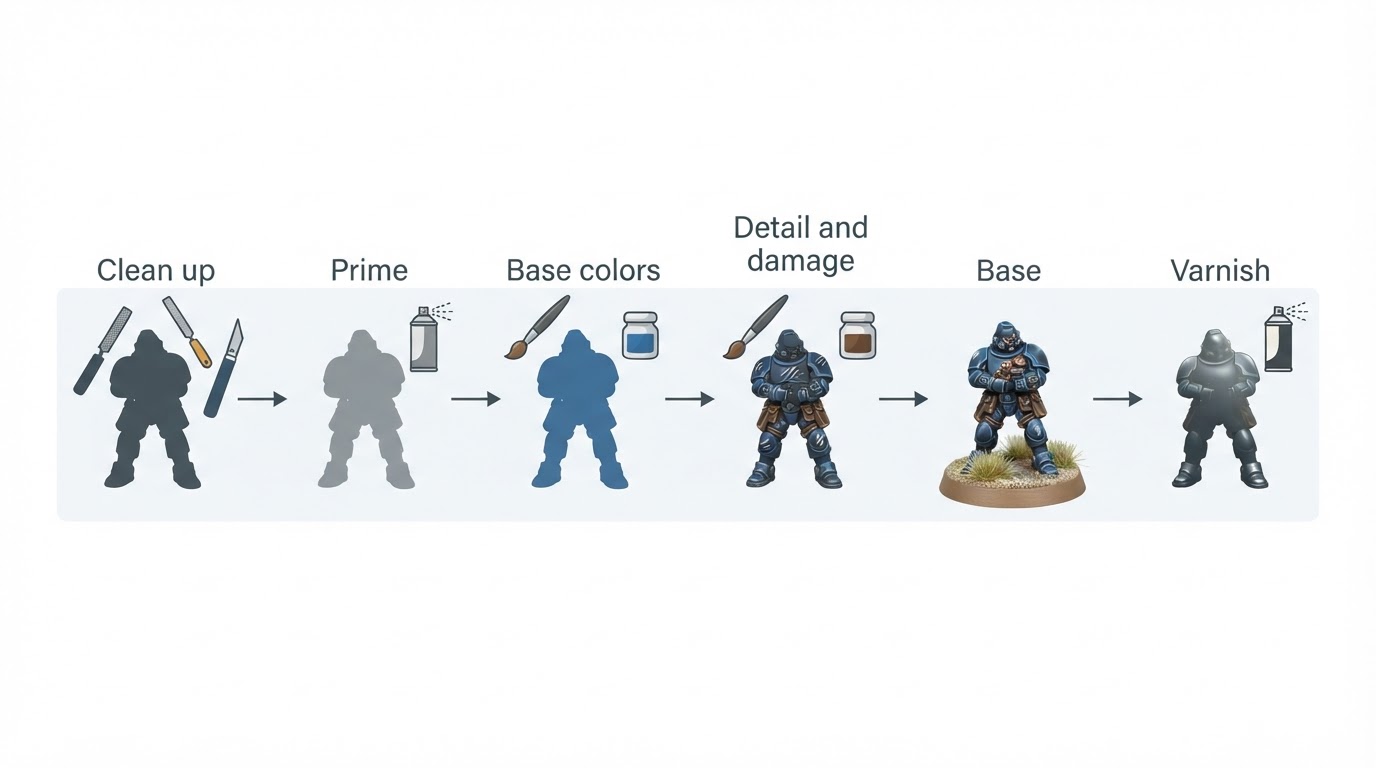
That scope matters at an apartment workbench, where a session is often one sitting and the storage is one shelf. Every idea below stays inside the same workflow you already run: clean up the model, prime it, build up color, add detail and damage, finish the base, and seal it with varnish. Each idea also comes with a short line on how to start it, so you can test it on a single figure before committing to a whole unit.
Color-Scheme Ideas That Read Clearly at Arm's Length
Color is the fastest way to give a row of grey plastic a personality, and it is the cheapest idea to test because it only needs a handful of paints.
Monochrome with one accent. Paint most of the model through a single value range — dark greys, cold blues, or warm browns — then reserve one saturated color for one element: a lens, a cloak edge, a weapon glow. At small scale the eye finds that accent immediately, and you never have to manage a crowded palette. How to start it: choose three paints of the same hue — dark, mid, and light — paint one test model with nothing else, then add the accent last.
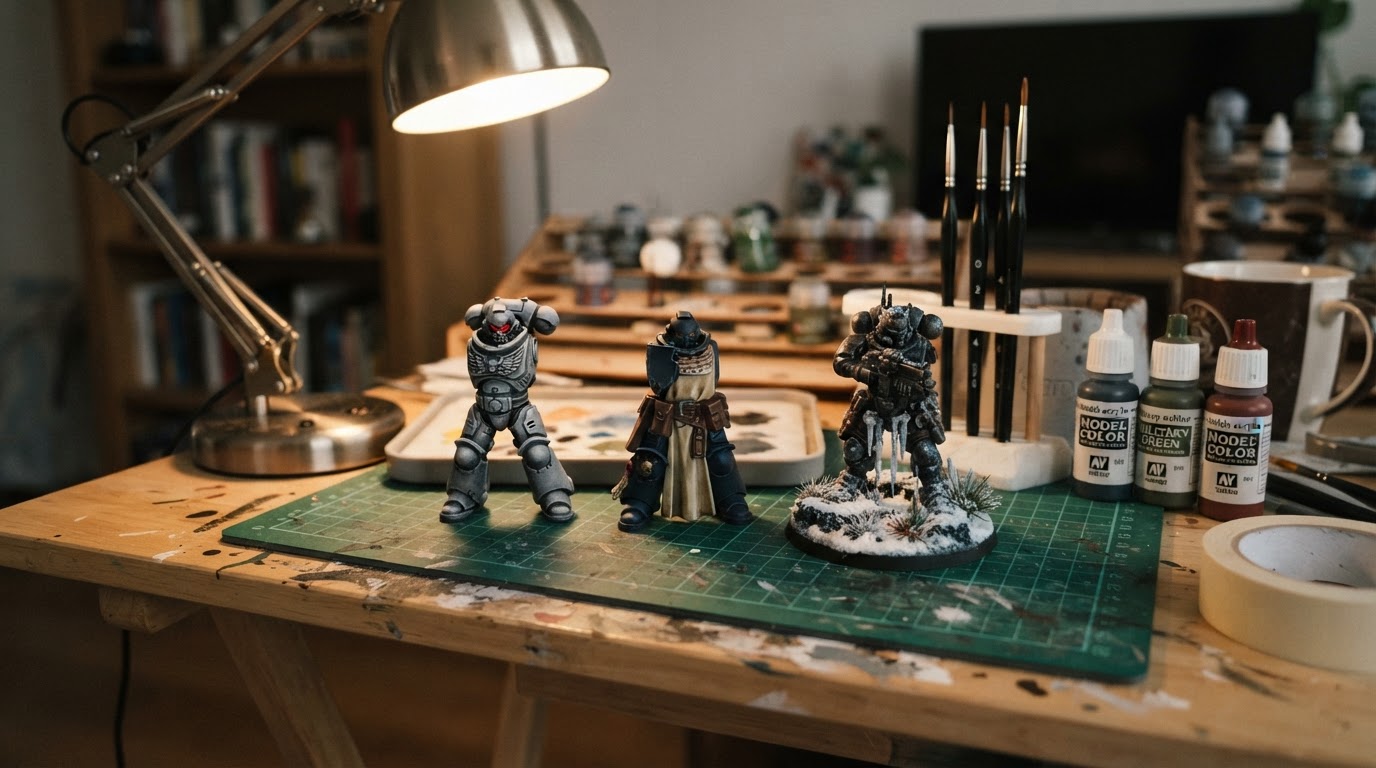
Limited palettes of two or three colors. A limited palette forces every shade to be mixed from the pots you already own, which builds color control faster than a longer shopping list. It also makes a force look unified without extra planning. How to start it: pick three paints that sit far apart on the color wheel, mix your mid-tones from them, and keep a scrap of card beside you to record the mixes worth repeating.
Weather or season as the theme. Frost, autumn, desert dust, or rain-soaked mud gives a warband a shared mood before you paint a single detail. The trick is to bias the whole palette cool or warm rather than painting "winter" onto a summer scheme. How to start it: choose the season first, decide whether the cloth leans cool or warm, then let the base echo the same environment.
One color, four finishes. A single paint can carry a whole model when you vary finish instead of hue: matte cloth, satin leather, gloss armor, and metallic trim all read as different materials even in the same color family. How to start it: base coat a spare model in one color, then test matte, satin, and gloss varnish patches on different areas to see how much separation a finish change buys.
Technique-Building Projects: One Skill per Miniature
The fastest way past a painting plateau is to stop painting finished pieces and start painting practice pieces. Each project below isolates one skill, so progress is visible instead of buried under a whole army.
Drybrushing a textured force. Drybrushing catches raised edges and leaves recesses dark, which creates contrast in minutes on fur, chainmail, stone, and sand. How to start it: load a stiff drybrush, wipe most of the paint onto a paper towel, then drag it across the model's highest points only.
Wash-first shading. A wash settles into recesses and separates armor plates, cloth folds, and fur without careful layering, which makes it the highest-return technique for a beginner with limited time. How to start it: paint a clean mid-tone base coat, flow a thinned wash into the recesses, and let it cure completely before touching the model again.
Layering for clean transitions. Layering builds a highlight from several thin passes instead of one thick stroke, and it teaches brush control faster than any other exercise. How to start it: begin from your darkest mid-tone and paint each pass slightly smaller, keeping the brush nearly dry at the edge.
Blending and glazing for smoother gradients. Glazing is the technique that separates a tidy paint job from a smooth one, because thin, transparent layers average out the steps between your mid-tone and highlight. How to start it: thin one color until it is nearly transparent, then build the transition across a single cloak or shoulder pad over several passes.
Battle damage and weathering. Chips, scratches, rust streaks, and scorch marks turn a clean paint job into a story about where the model has been. How to start it: add damage after the base colors are done but before the final varnish, and stipple the chip color so the edges stay irregular.
Basing themes. The base is where the miniature lives, and a deliberate theme — ash, rubble, snow, or swamp — ties a squad together at the table. How to start it: choose one ground theme for the whole force, apply it once the miniature's paint is fully dry, and seal basing and figure in the same varnish pass.
Themed Warband and Army Concepts
Themes are a scheduling device as much as an aesthetic one: they tell you what to paint next and when a unit is finished.
A narrative warband. Give the leader a two-line story — a home, a grudge, a journey — and let the rest of the warband answer to it. Narrative themes keep motivation high because each miniature has a reason to exist beyond filling a unit slot. How to start it: write the leader's story first, then give every other model one visible detail taken from it.
Uniform plus accent with squad markings. One uniform recipe and one accent color keep a large force coherent, while markings carry the variety that stops twelve similar models from blurring together. How to start it: lock the uniform recipe and accent color, then vary only the markings between squads.
A terrain-matched force. Painting a force to sit on one kind of table — ash wastes, jungle, city rubble — makes an army look intentional in play, because the figures and the ground share a palette. How to start it: paint the base first, then pull one color from the ground up into the cloth or armor.
Display Versus Tabletop: The Tradeoff Most Idea Lists Skip
Every idea above can be pushed toward display quality or tabletop utility, and the two pull in different directions. Knowing which one you are painting for prevents wasted time and disappointing results.
Decision | Tabletop-ready | Display-focused |
|---|---|---|
Viewing distance | Arm's length across a table | Close-up, hand-held |
Contrast | Strong value blocks that read fast | Smooth gradients and subtle transitions |
Time per model | Bounded and batch-friendly | Open-ended, one model at a time |
Basing | Durable, sealed, transport-safe | Delicate detail that stays on a shelf |
Damage | Chipping reads as character | Damage must look deliberate and controlled |
Finish | Matte varnish built for handling | Finish chosen by material and light |
The practical rule is to judge a tabletop model at arm's length and a display model under a lamp. A scheme that looks flat in a close-up photo can be exactly right at table distance, and a subtle gradient that wins a painting contest can vanish across a game table. You can move a tabletop scheme toward display by slowing down on one focal area — the face, cloak, or weapon — and you can move a display piece toward the table by sealing it thoroughly and simplifying the base. If the figures are for a campaign night, contrast and durability beat subtlety.
Turning Ideas Into a Next Project
Ideas only pay off when they get scheduled. An approach that fits a single apartment session: pick one color direction, one technique project, and one theme, then assign them to your next three models. That gives you a test piece, a skill piece, and a themed piece without starting an army you cannot finish.
Before opening a single pot, write a one-line completion standard for the model — base coated, shaded, detailed, varnished, and based — and stop when you hit it. Keep the workbench setup small and repeatable: a wet palette, two or three brushes, one lamp, and a storage spot where pots stay sealed and upright between sessions. If you paint in short windows, batch the slow stages such as priming, base coats, and varnish across several models at once, then save the detail work for the evenings you have more time.
Where to Take These Ideas Next
Choose one idea from this page, finish a small test model, and note the colors and steps you used. Compare the result with your intended focal point before buying more paint or changing several techniques at once.


